Hello, from the mountains of Kentucky. It’s a beautiful day in the mountains today. The sky is clear, which I’m so thankful for. It’s been a very rainy May in our part of the world. Hard storms wreaked havoc on our mountains Sunday. Many are still without power, cable, telephone, and Internet. Ours was restored yesterday. One thing about loss of Internet… is it’s a great time to catch up on reading, writing, housework, and yard work. Today’s post is the second post of my top ten herbs. Keep in mind that these posts are not in any particular order. Check out my first post My Favorite Top Ten Herbs (part one – mint)

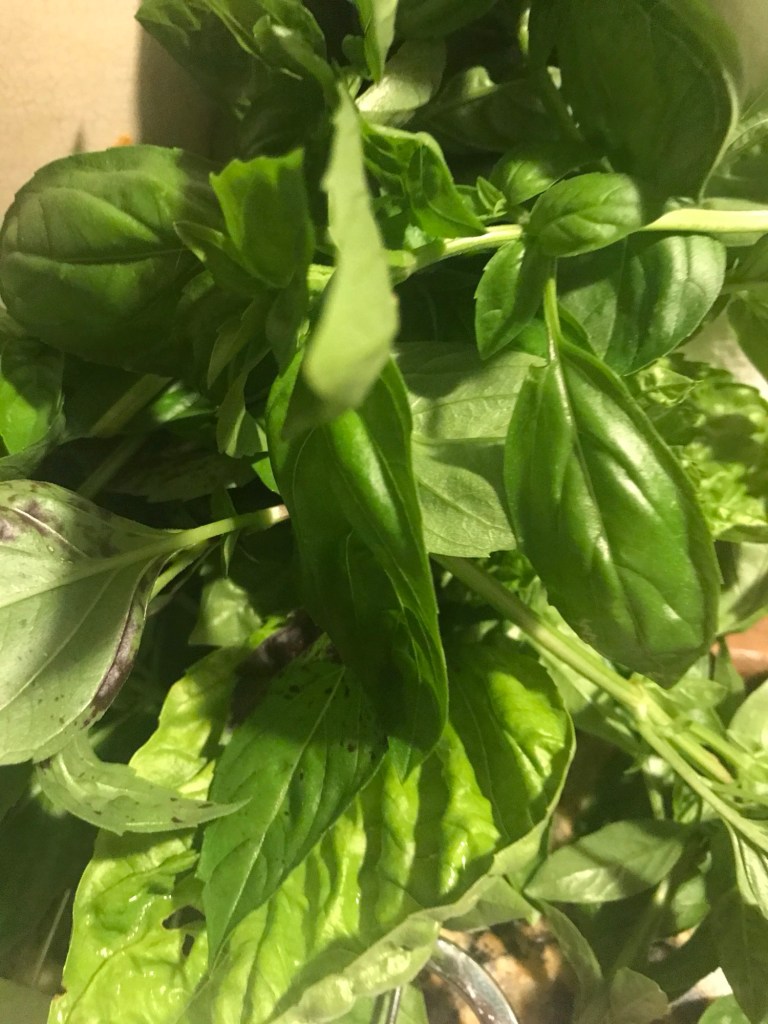
Basil is a must have for our pantry and spice cabinet. It is low maintenance, easy to grow, tastes great fresh, easy to dry for spices to use when cooking, fresh it adds wonderful flavor to dishes, makes great tortillas, makes great aioli, delicious pesto, it helps repel mosquitos, it tastes great in salads and so much more. Let’s get started!
Basil is a spicy herb that is commonly found in Italian dishes. It is actually a member of the mint family. It is a native plant of Africa and Asia. It loves plenty of sunshine, rich soil, moderate watering, and it loves to be pruned! It can tolerate some shade as well. Its wonderful taste can be identified in spaghetti sauces, pesto’s, on pizza, and in lasagna and many more delicious cuisines such as Italian tortillas. Vegan Italian Spinach Wraps. There are many types of basil. Believe it or not there are over one hundred types of basil. However, my two favorite types of basil are Genovese also known as, Italian basil it is often confused with common basil. The leaves of common basil is typically lighter than Italian basil. Another favorite of ours is lemon basil. I will address them in this post and might make a post about other types of basil at a later date.
Basil of all kinds is fairly easy to grow. It is an annual plant, which means it will need to be replanted each year if you live in a zone that has cold winters. In Kentucky, I plant basil each spring after the last frost. Don’t worry about expense. A good quality organic basil plant is only a couple of dollars. I typically purchase three to four plants per year, which is still more economical than buying fresh basil at the grocery store. One small packet of fresh basil, that may or may not be fresh, can cost nearly five dollars. I would prefer to have enough basil to enjoy fresh from spring until fall, and then harvest it for the winter.
I harvest and use it throughout the year and harvest the remaining plant before the hard frosts come to the mountains. Basil grows well in the ground, or in large pots. I prefer to plant mine in large pots within my herb garden. I also keep a pot of basil on my back porch for easy access for fresh basil. And again, it also helps deter mosquitos. Your basil will require good drainage, if you grow it in pots. I water my basil when the soil feels dry. I typically water daily when the temperatures are high. If the soil is damp, skip the watering. Over watering can be detrimental for basil. I like to add a looser potting mixture in the bottom of the pots. I enjoy caring for and growing orchids. So, I normally have an extra bag of the orchid potting mid on hand. It is a great addition to the bottom of the pot, and it helps the soil drain. I prefer to use a good quality organic potting soil for my potted herbs. If I’m going to eat them, I don’t want toxins from additives in the soil. Both lemon and Italian basil love and thrive in sunshine! I give my herbs an occasional spritz of Neem oil to prevent insects from building nests, primarily spiders, in the herbs. I also feed my herbs an occasional drink of weakened herb tea. The antioxidants are a great fertilizer. I do not add traditional fertilizer due to the additives in the fertilizer. Natural is always best!


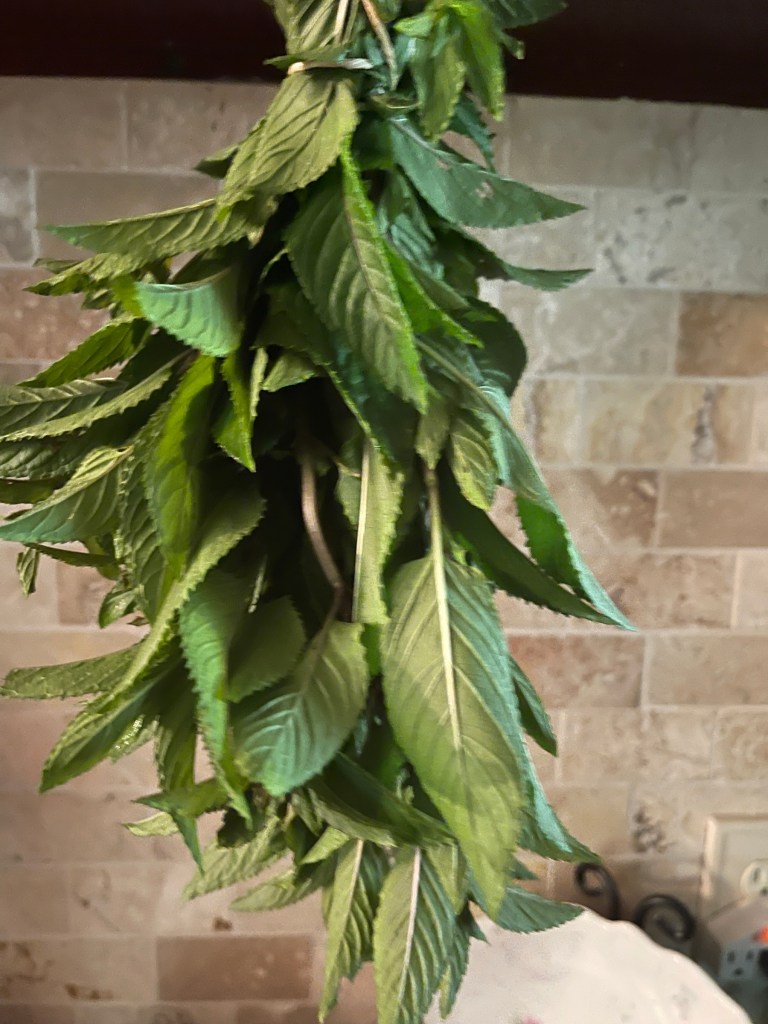
Again, basil likes to be pruned. Trimming your basil on a regular basis allows the basil to become fuller and less leggy and promotes lots of new growth. I also keep the blooms pinched back on my basil to help promote growth and prevent a bitter taste in the herb. If you are not harvesting to eat, basil blooms a pretty white flower that is a nice addition to a flower garden. I harvest basil throughout the season by clipping stems of leaves to add to a glass of water, much like you would flowers, for fresh basil for cooking. I usually only do this if I do not want to harvest to dry but want to prune the basil. For dying, I prune the stems, rinse well, and pat dry, then pick the leaves from the stems, and allow them to air dry on cookie sheets that are lined with white or unbleached paper towels. If i want to dry the basil by hanging it, I prune the stems, rinse, pat dry, and tie small bunches of the herbs together and hang from a drying rack or hook in my kitchen. Either way that you choose to dry basil, the aroma will fill your house. Herbs can be dried in a dehydrator, the oven, or even in an air fryer. It’s quicker, but I find that it lowers the quality of taste. Air drying is my personal preference.
Basil typically takes at least two or three weeks to completely dry. Once the basil is dry, I add the whole dried leaves, which will be much smaller than fresh leaves, to a glass jar. I prefer amber jars, but clear will work. The jars are then added to a dark corner of my spice cabinet. I add the dried basil to dishes by using a mortar and pestle to grind it as I need it. I also grind some of the leaves into a finer powder using a coffee grinder. This method of storage eliminates a step in the cooking process, but still packs great flavor. The shelf life of fresh dried basil is one to two years. I usually have almost completely eliminated my dried basil from spring to spring, especially if I make many of the spinach Italian tortillas. See the link above.
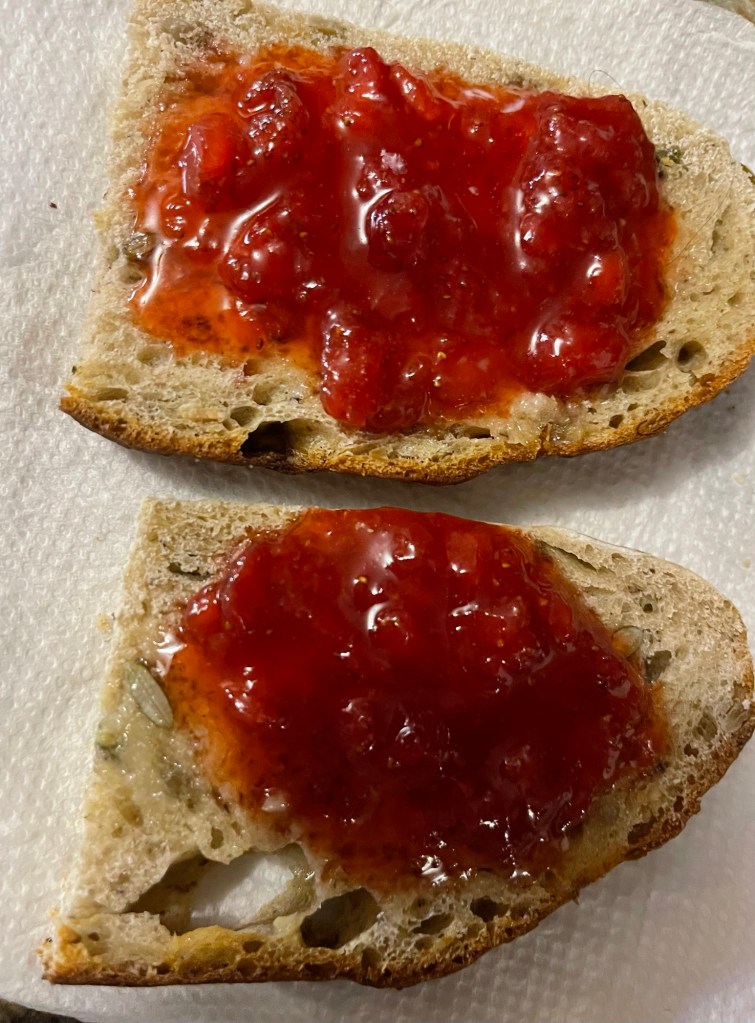
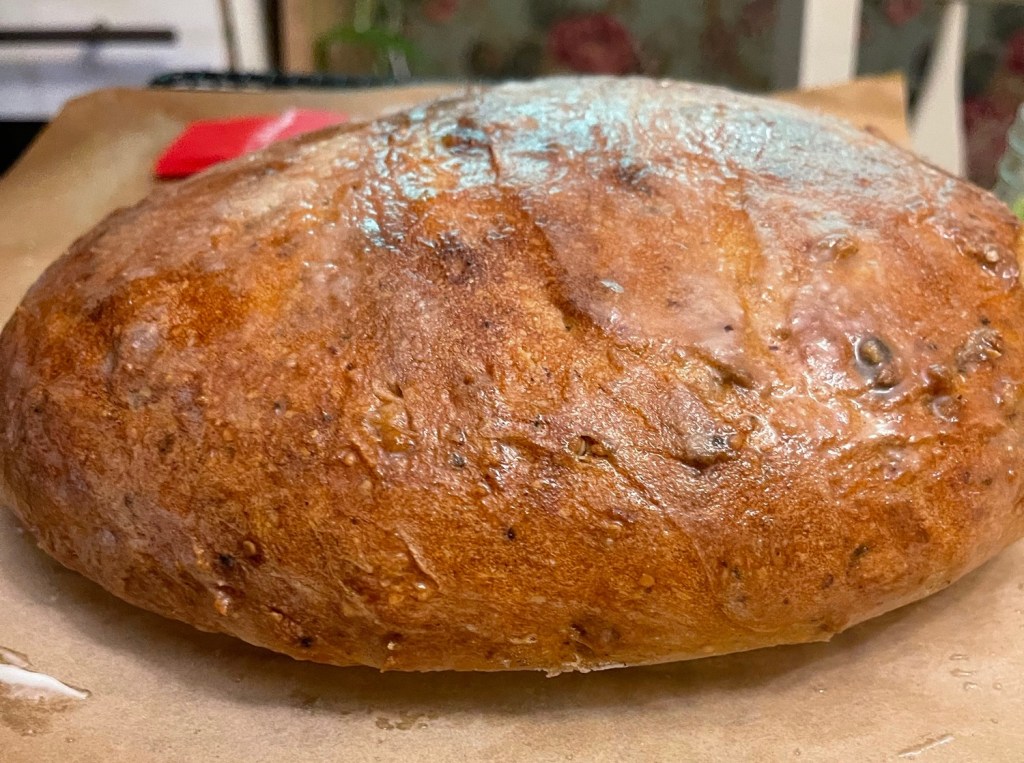
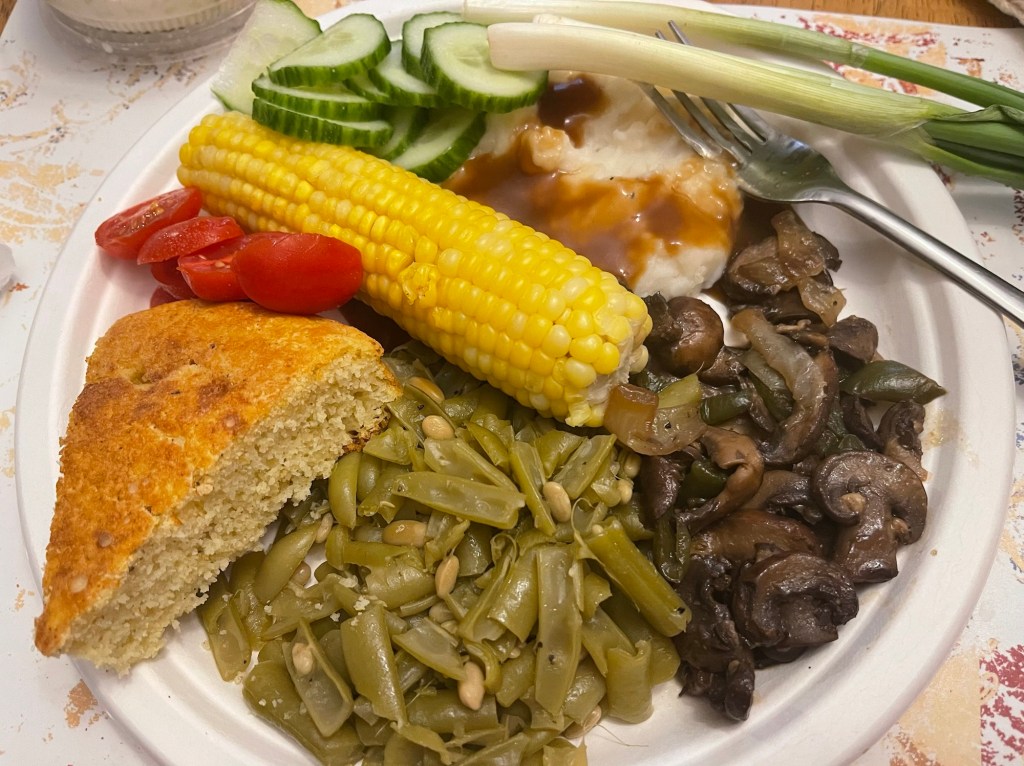
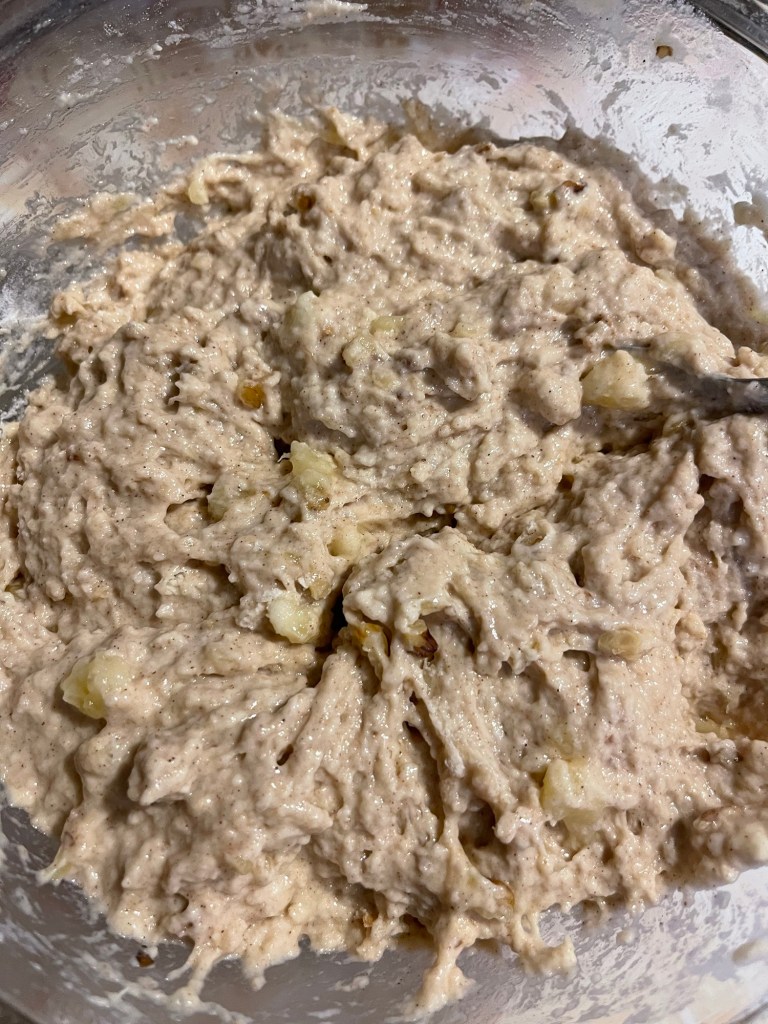
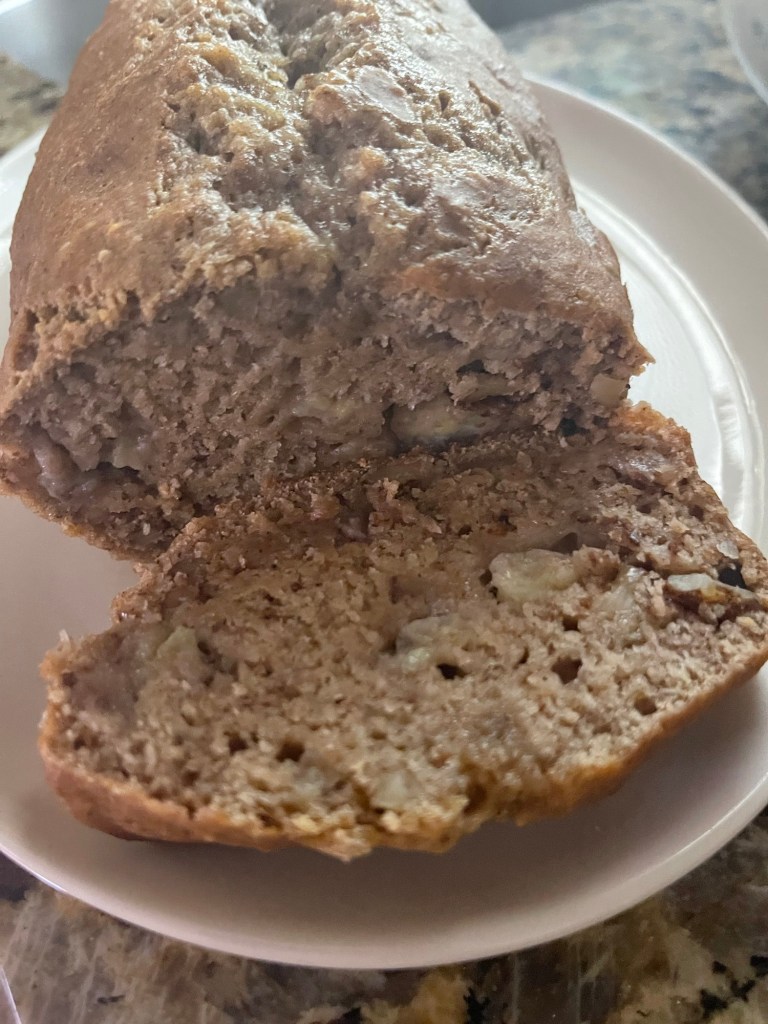
Both Italian and lemon basil are great for pesto’s, aioli’s, makes a nice additions to salads, great on pizza, and delicious fried for a crispy bite of deliciousness for any Italian dish, or a salad topper. I also like to add fresh basil to omelets or tofu scrambles, spaghetti, and lasagna. I find that it adds an interesting taste to fresh baked bread, especially with the addition of garlic. Lemon basil is also a great addition to Asian dishes. I will try to add the recipe that is pictured below soon.

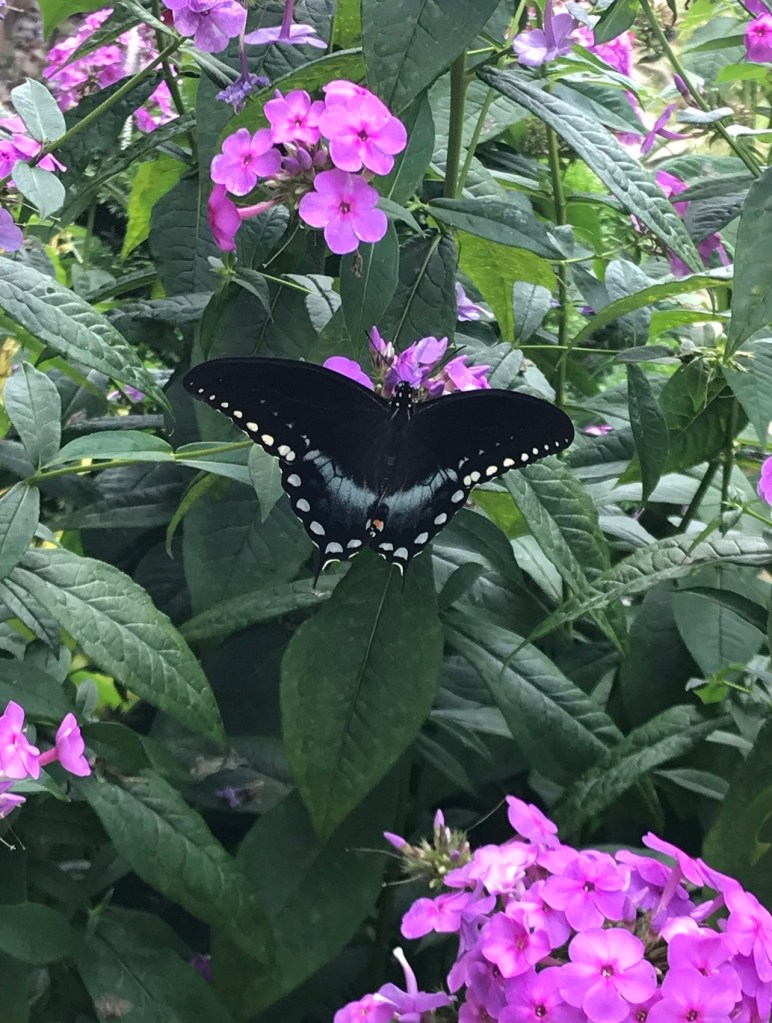
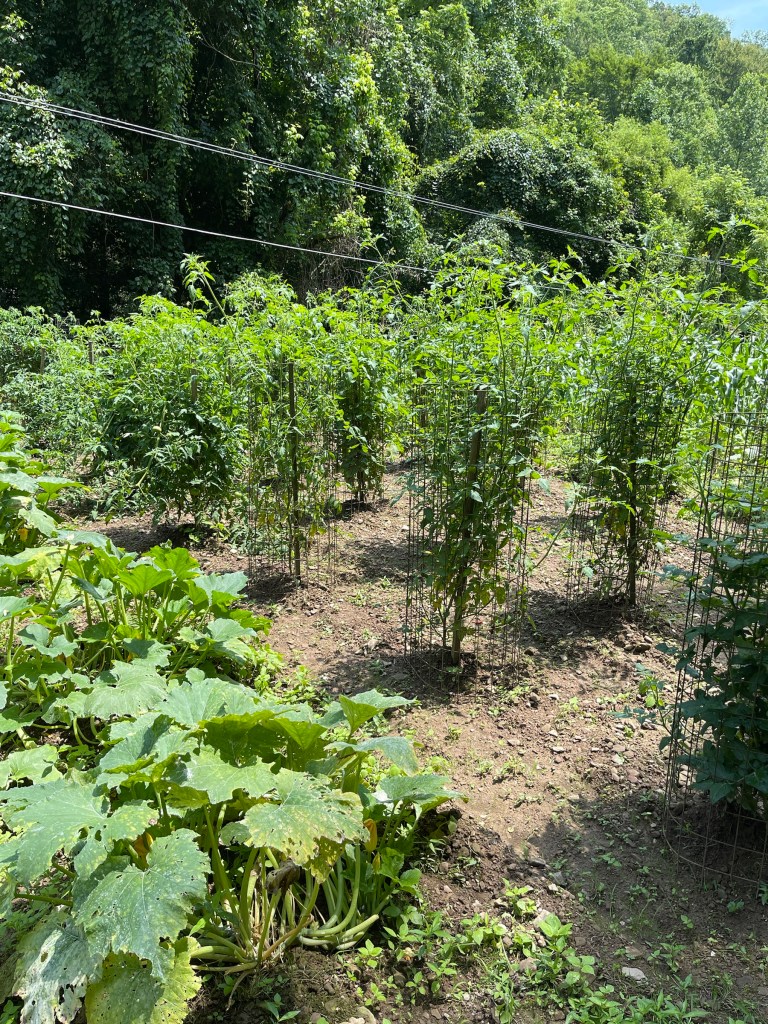
Basil not only helps deter mosquitoes and other unwanted pests on or near the porch, but it makes a great companion in the vegetable garden to help deter pests from tomatoes, and other plants. Crushing the leaves can also act as soothing compress for bee stings.
These are only a few ways that I use basil at our house. I could write a book on basil alone. I hope to include a post soon about the other types of basil that we use on frequent basis. The smell of fresh basil is intoxicating. I love to brush my hands over the basil and enjoy the vibrant invigorating aroma.
Feel free to leave a comment or question. Check back next in upcoming days for my third herb post. Also, feel free to subscribe or follow. For now, God bless from the mountains of Kentucky!