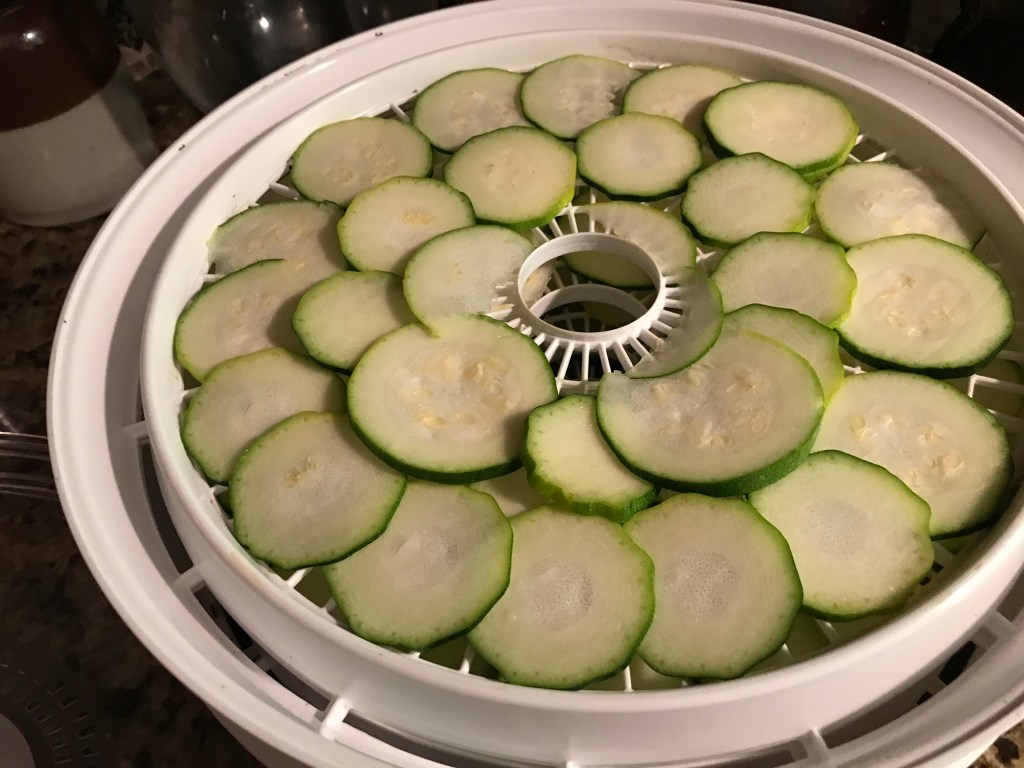
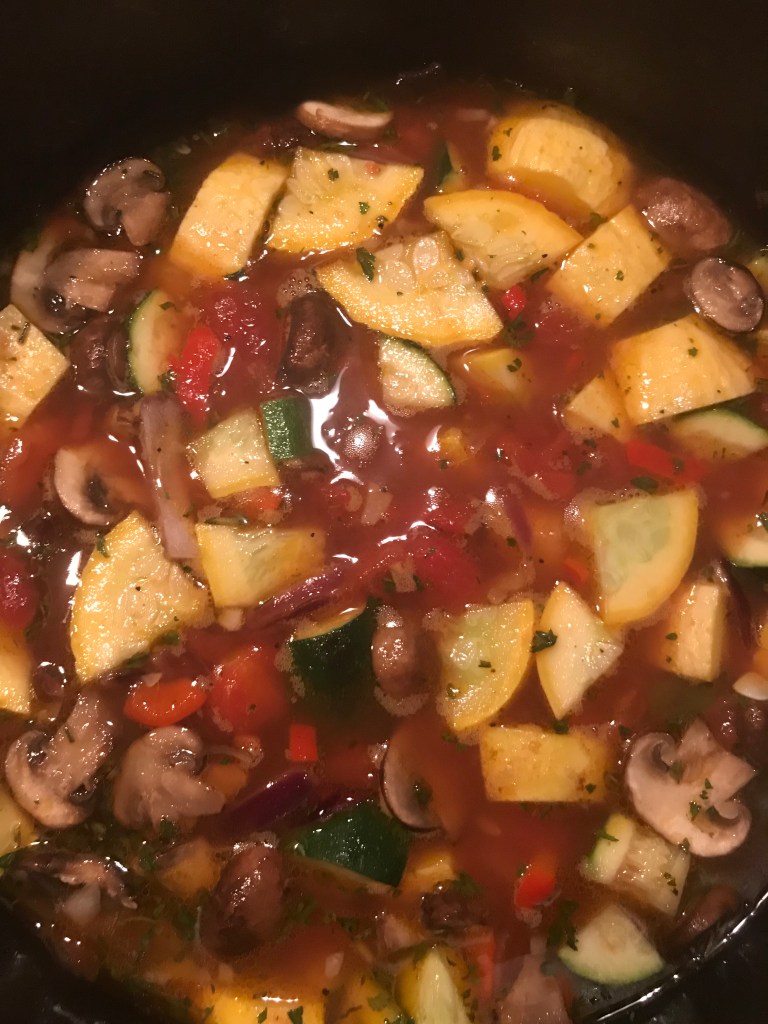
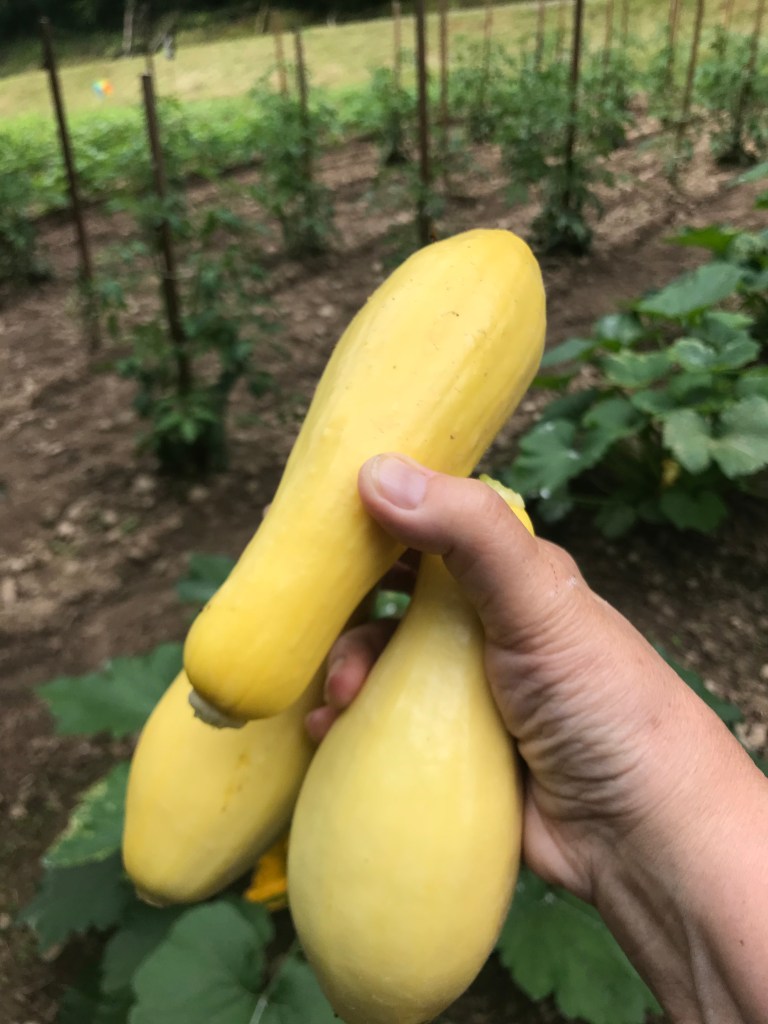
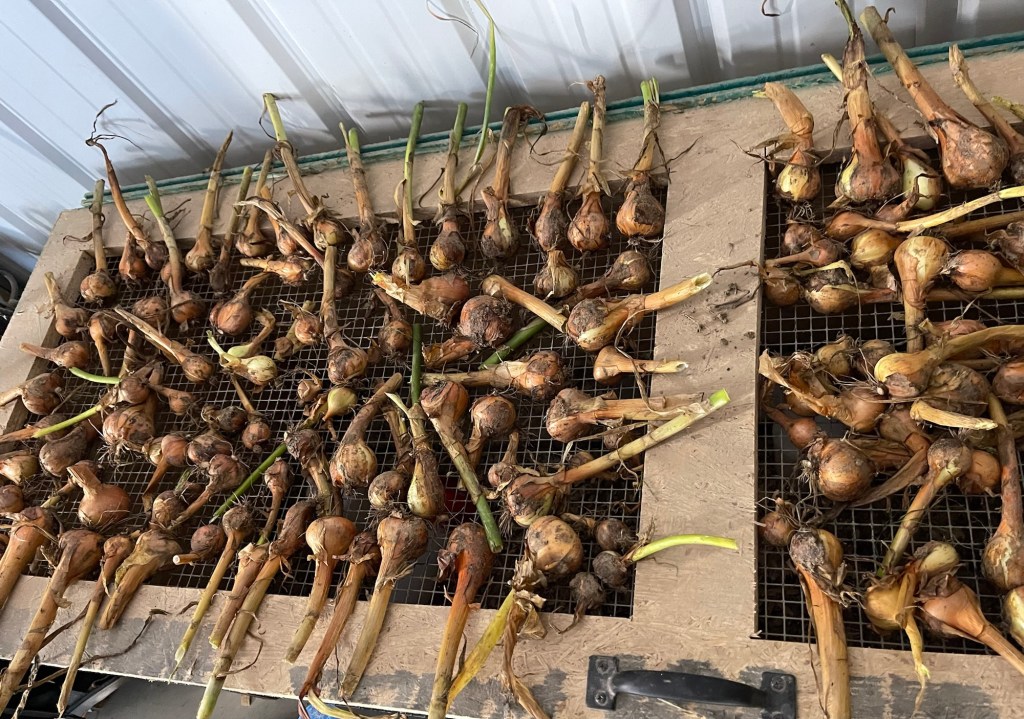
Hello, from the mountains of Kentucky! It’s been a busy start to July on the homestead. We have been working fiercely in the vegetable garden on dry days because we’ve had a magnitude of rainy days this spring and summer. The garden looks great! Everything seems to be flourishing. We’ve been picking a lot of cucumbers, zucchini, and summer squash. These are our favorites! We love incorporating it with breakfast, lunch, and supper. We can, freeze, and dehydrate squash and zucchini. We harvested last summers’ onions a few days ago to dry for winter onions and planted a new row of onions to eat this summer and fall.


Enough about the homestead, this post is about one of my favorite herbs, lemon balm. Lemon balm (Melissa officinalis) is an herb from the mint family. The leaves have a mild lemon aroma and a lemony taste. The leaves are used to make teas, medicinal salves, oils, and to flavor foods. Our favorite use of lemon balm is making tea. Lemon balm tea is great to relax after a busy day. It not only has a relaxing element, it soothes as well. We have found that the leaves can sooth a cold sore, and minor scrapes. Sipping lemon balm tea can also help ease indigestion.
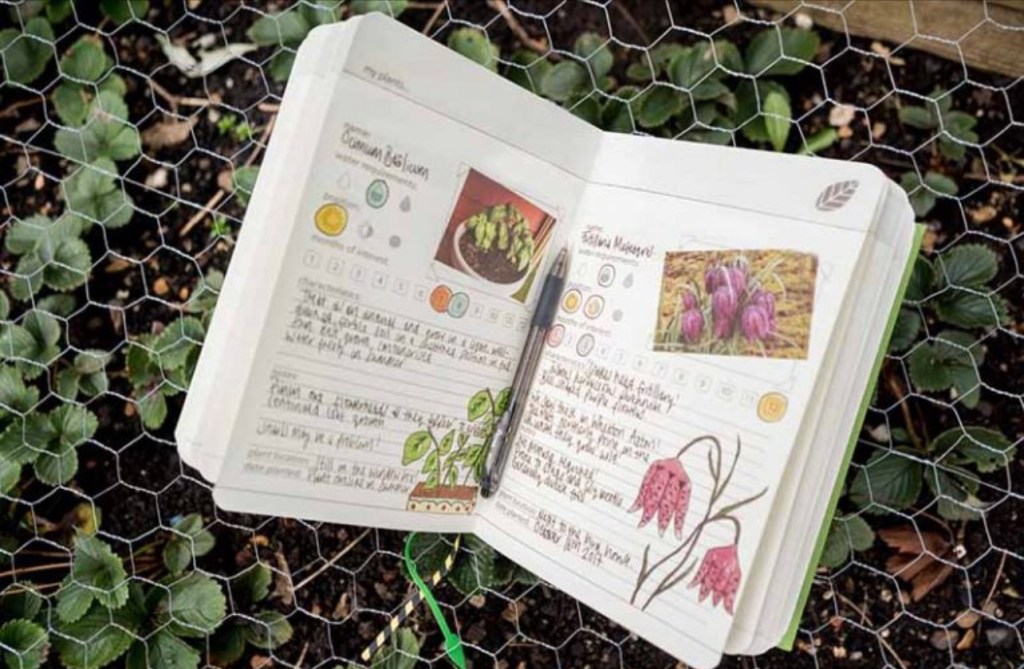
Growing Lemon Balm
Lemon balm is a perennial that loves to thrive in partly sunny beds. Forewarning, it It will spread quickly and overtake other plants. We grow it in a huge flower pot as it is a bit of an escape artist and will escape beds and overtake other plants. After the last harvest, the pot is covered with a warm bedding to protect the roots from the harsh winter elements. Some years, it returns and some it doesn’t. However, it is easy to grow from seeds. The plants are also inexpensive at most green houses. It will always return if you plant it in the ground. It can be planted in an isolated bed and thrive for years to come. Like all mints, the more it’s pruned, the thicker it gets. It actually needs pruned frequently in the summer and early fall to prevent it from getting leggy. Pruning is easy. I use kitchen shears to snip the stem between the leaves. Before you know that snipped stem produces two or more new stems that produce more leaves. A good cutting does it well.
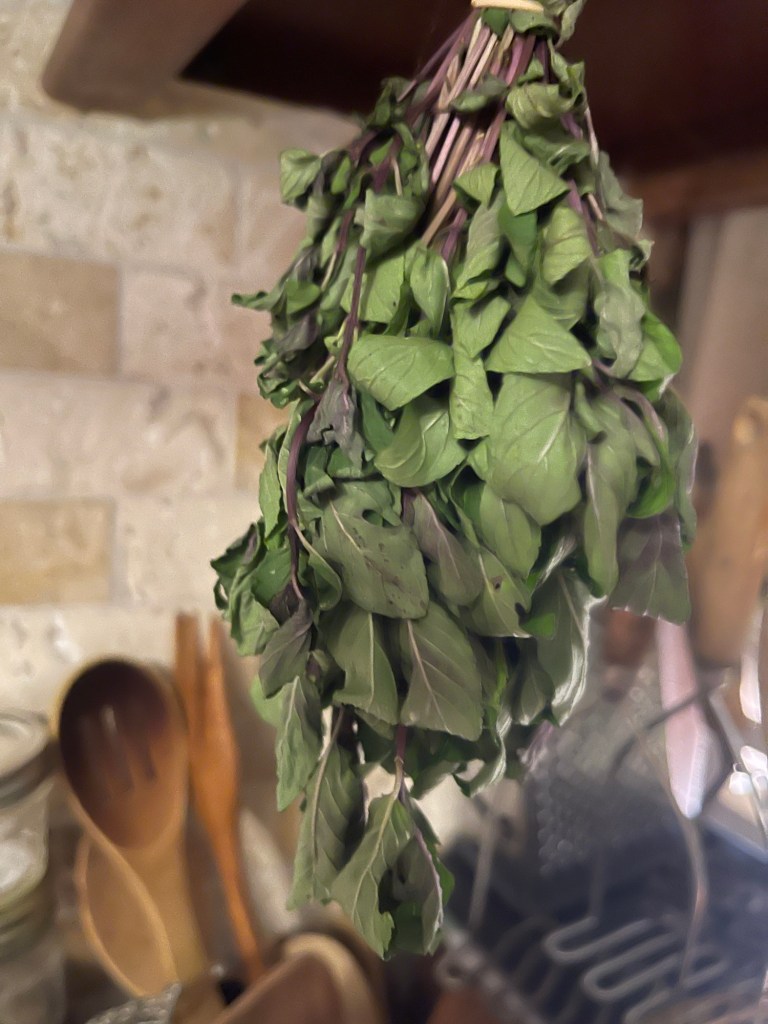
Drying Lemon Balm For Tea
Lemon balm is easy to dry. I typically cut small to medium quantities throughout the summer and a large amount with the final harvest of the season. For the smaller amounts, I prune the stems with the leaves in tact, and spread them over a cheese cloth or paper towel in a large sheet tray placed in a well ventilated place in the house. For the larger harvests, I use a large mesh drying rack in the garage. Once the leaves are brittle and crispy, they are ground for teas and spices. I store my teas in glass jars in a dark cabinet. Teas usually maintain their flavor for up to three years before they become rancid. To make a cup of lemon balm tea, add tea leaves to tea bag or tea ball and place it in your desired tea cup or mug. Pour boiling water over the tea ball or bag and allow tea to steep for at least five minutes. Removing the ball or tea bag is optional. Your tea is ready. It is a delicious lemon flavor that we enjoy for the taste and the soothing benefits. I also find true satisfaction with drinking tea made from the plants we plant, grow, harvest, and dry. Self-sustaining is a satisfying wonderful feeling.

Making Lemon Balm Oil
I love to make lemon balm oil for my skin, to sooth sun burns, to massage sore muscles, and more. It’s easy to make. Dry lemon balm leaves and stems until crispy. Once the leaves are dried, add them to the carrier oil in a glass jar. I like to use amber jars. I don’t really measure for this oil. It would depend on the size of the jar. For example, I typically fill the jar or bottle about half full of leaves and then add the oil. I like to use organic fractionated coconut oil, you can also use jojoba oil. Seal the bottle and place in a dark cabinet. Give the jar of oil a gentle shake daily and place it back in the cabinet. After three to four weeks, strain the leaves out of the oil and you are ready to use your lemon balm oil. Keep it stored in an amber bottle to help it maintain its strength. Keep in mind this is not lemon balm essential oil, that is an entirely different type of oil.
Don’t Discard the Leaves
Don’t just discard the teas leaves or those soaked in oil! I use teas leaves that have reached or exceeded their shelf life as a weak tea to water my herbs, house plants, ferns, garden plants, herbs, and flowering shrubs. They’re great to add to the soil near squash and zucchini plants in the garden. Herbs are filled with rich antioxidants that are as good for the soil and plants as they are for us. Older teas and dried herbs can be added to the compost for enrichment.
Research to Read
Lemon balm is a versatile herb that is even recognized by The Cleveland Clinic as a herb that can be used medically This is a very interesting read!
https://health.clevelandclinic.org/lemon-balm-benefits
I hope you took time to read the article. It’s actually quite amazing as most medical personnel do not give credit to the medicinal power of plants.
I hope you have enjoyed this post about one of my favorite herbs and a little update from our homestead. Feel free to leave comments, like, share, subscribe, or follow Also, head over to Apple podcast and listen to my podcast, Homesteading in the Mountains, for more tips, ideas, and information about homesteading and more. Have a blessed week! For now, God bless from the mountains of Kentucky! Happy homesteading!