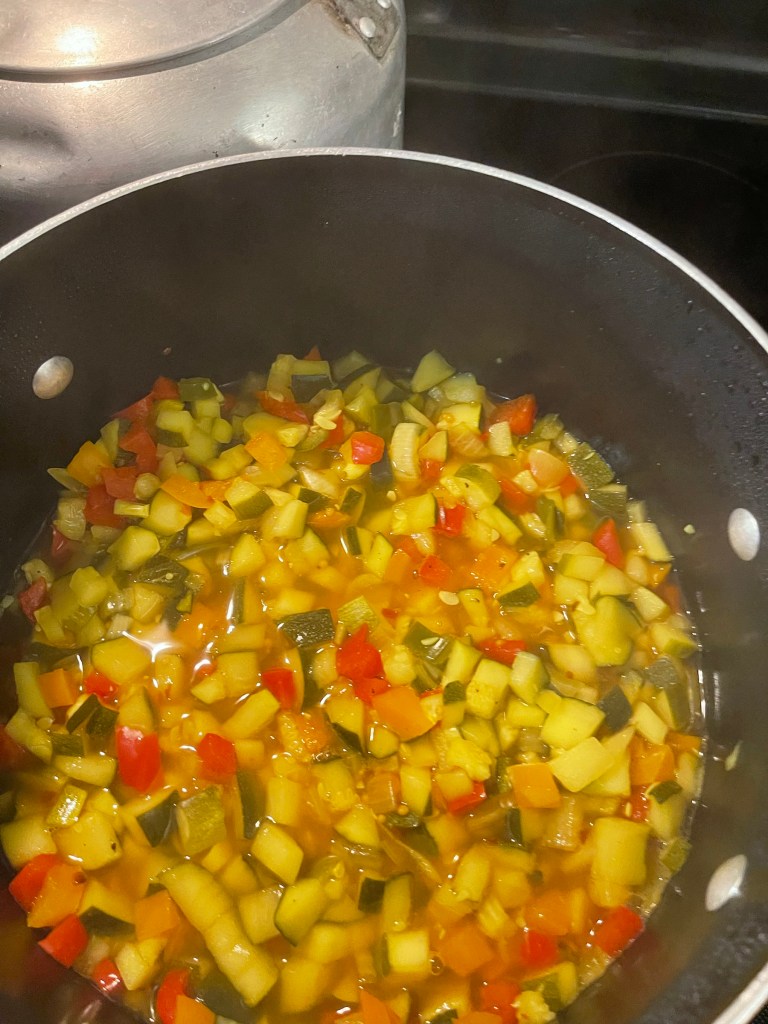
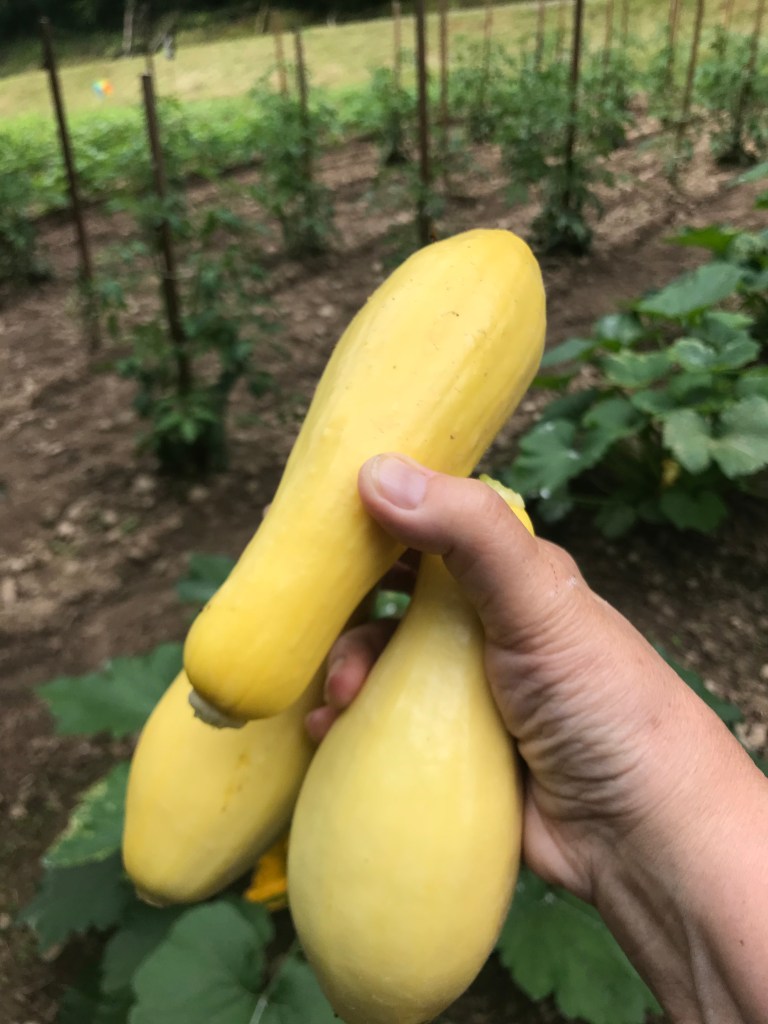
Hello, from the mountains of Kentucky! I hope you are having a wonderful day. Things have been quite hectic in our neck of the woods! As a college professor this is one of the busiest times of the year as we are deep into the fall semester. Each year brings growth and change, which are both welcomed, but not always easy. As famers, life has been extremely hectic as we are harvesting, preserving , and canning the remnants of our garden. As a part of a church family, it’s been a busy time of growth, and a sense of urgency to pray more for our country and family than ever before. We’ve also felt the need to preserve and can more than in years past. With that sense of urgency, we’ve actively been growing our pantry, and stocking our shelves with a little more than usual this year.
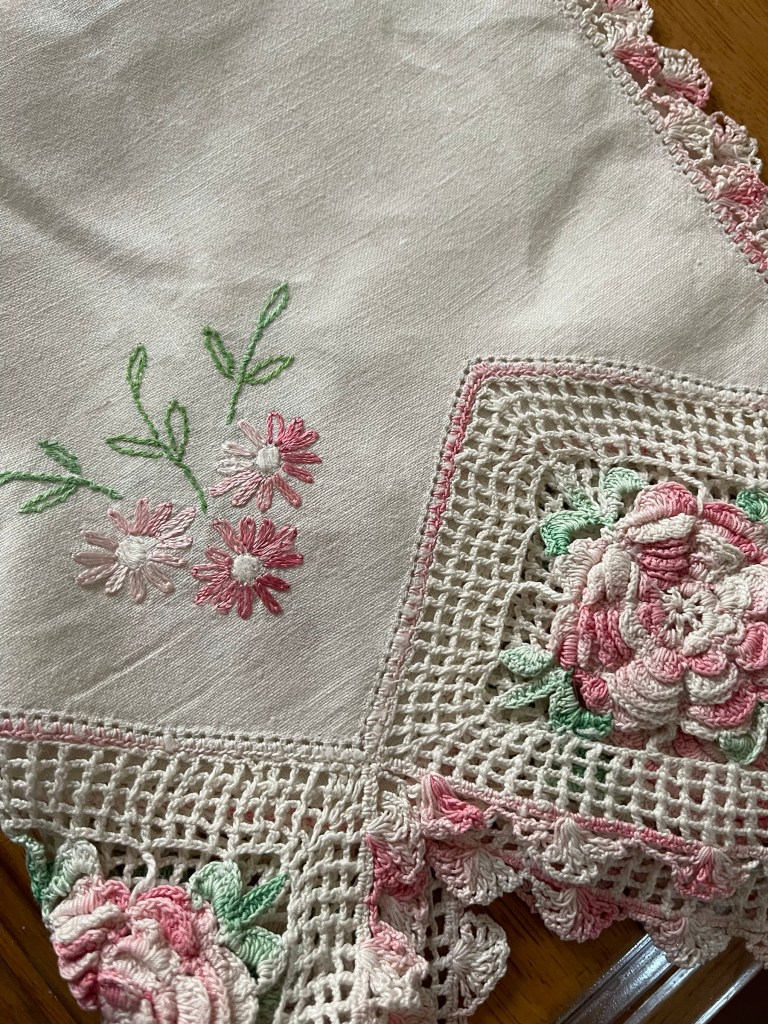
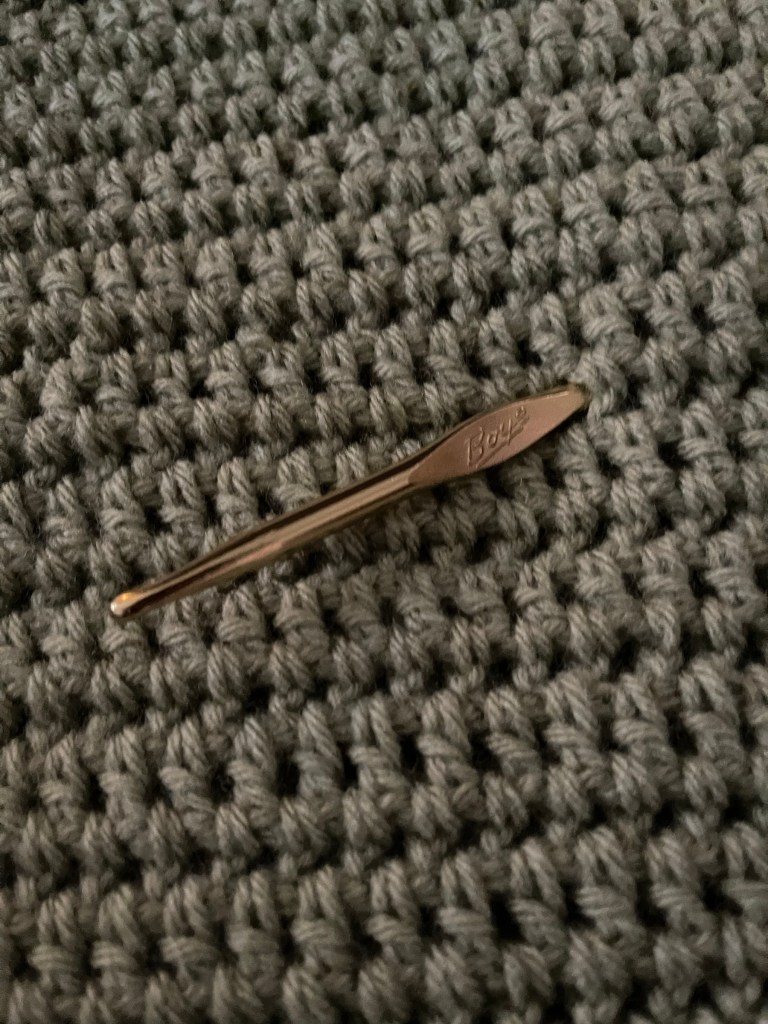
Making time for self-care, especially when life gets crazy is a must. I have found that taking the time early in the morning hours to sit quietly, reflect, meditate, pray, and journal has proven to be very therapeutic and healthy for my mind and spiritual well-being, which helps to maintain a healthy mind, heart, and soul. I enjoy crocheting, which is also very therapeutic. After prayer, devotion, and Bible study, a few minutes of crocheting is one of my times to reflect and meditate. Mornings are great for me as the house is quiet and the farm outside hasn’t come to life just yet.

Holistic living is healthy and very satisfying way of life. I am often asked how I made the decision to lead a holistic life. I have been an advocate for clean eating for a great number of years, which made the transition somewhat easier. I chose clean eating for my health. My health was declining at a young age. My cholesterol was out of control, my blood pressure was extremely high, I was over weight, and I was border line diabetic. So, the journey began there! I decided that I would take back my health! I chose clean eating as many fad diets just didn’t work. Day by day, week by week, with the help and support of my family, church and friends, changes started happening! One by one I was able to stop taking meds for all of the above health issues, I lost 75, yes 75 pounds! I was finally in control of my diet and my health!
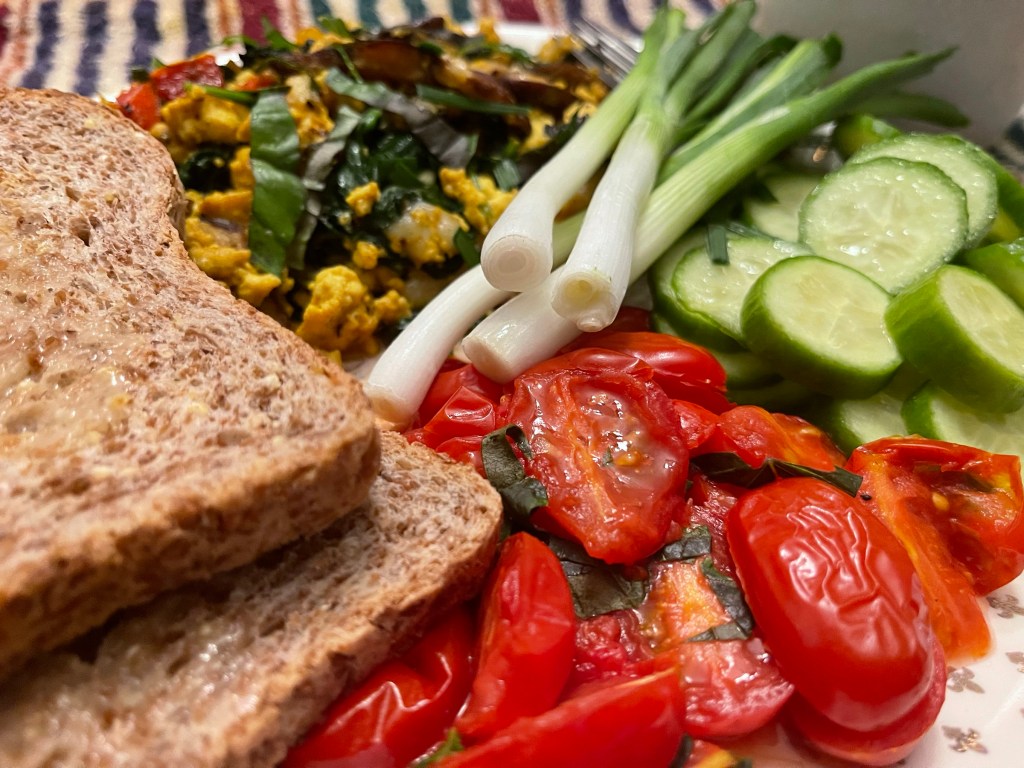
With the wonderful effects that clean eating had on my health, it evolved into my decisions to become a pescatarian, then gradually that evolved to becoming a vegetarian, which both added vitality and a new zeal for life in my thoughts and my body and evolved into an even cleaner diet. I’ve had trouble with digesting diary for years and had gradually made the change to almond milk and plant butter and cheese, which again made the transition easier. For nearly five years now, I’ve enjoyed a vegan/plant based diet, which has lead to an increase in my overall health, and a peace and satisfaction that I am making a difference in my overall well-being.
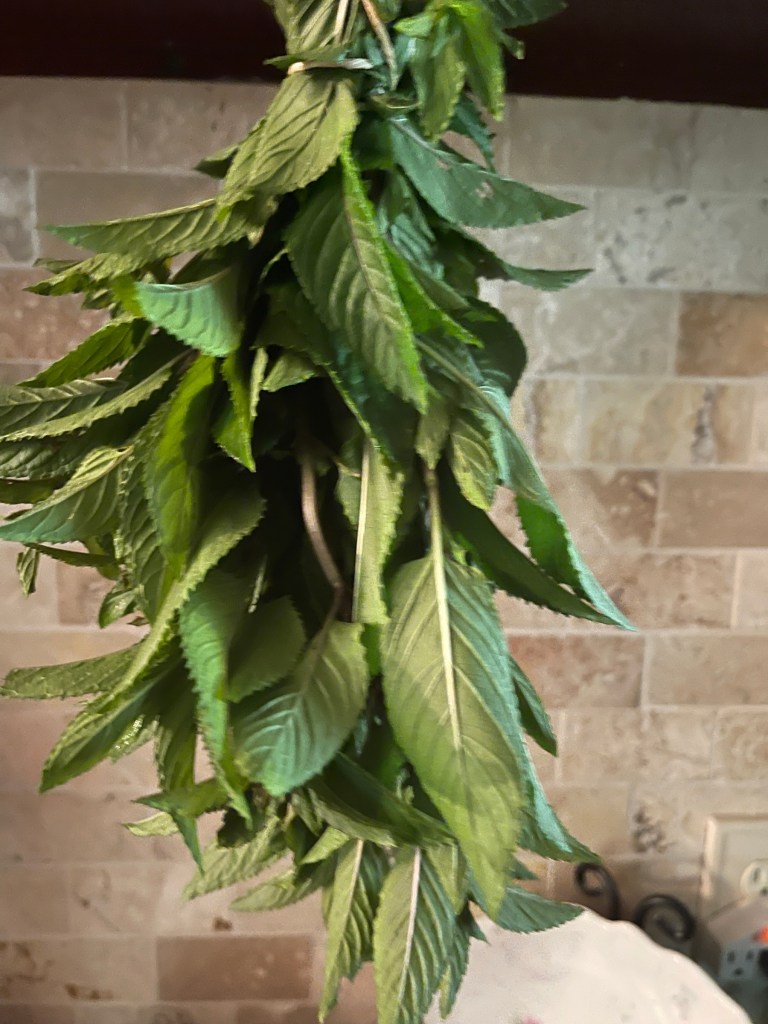
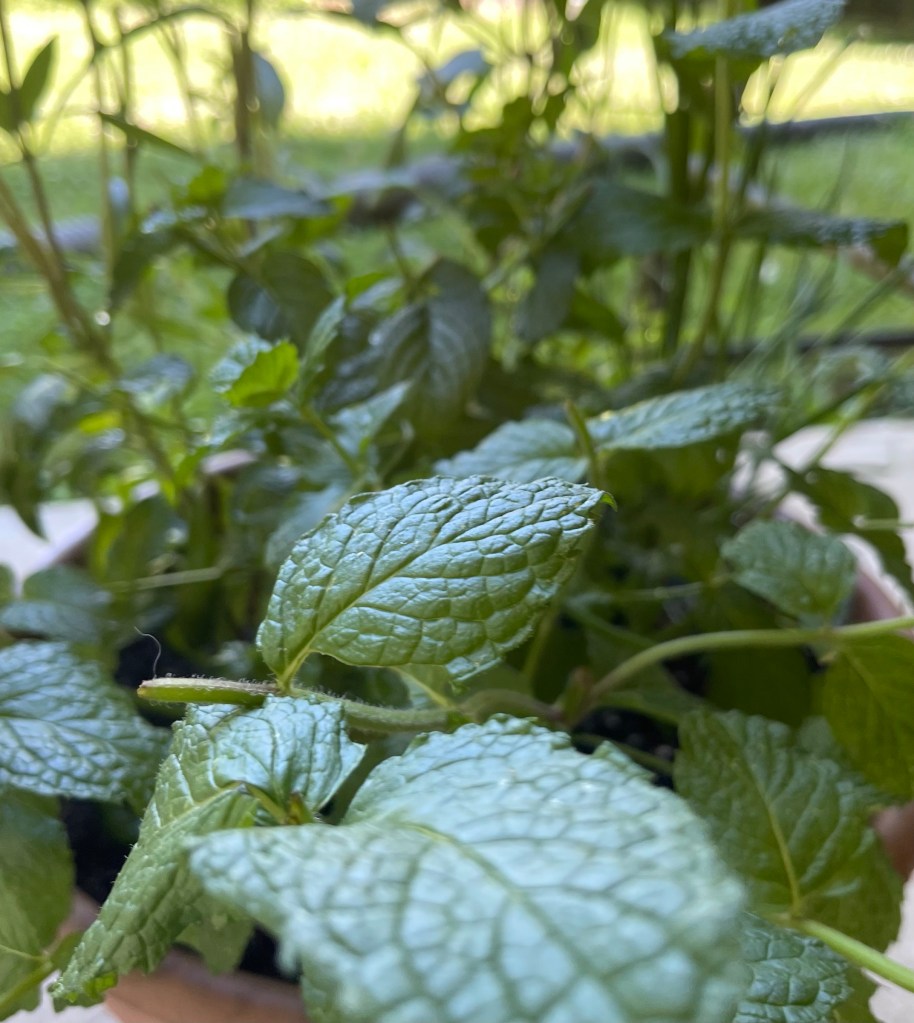
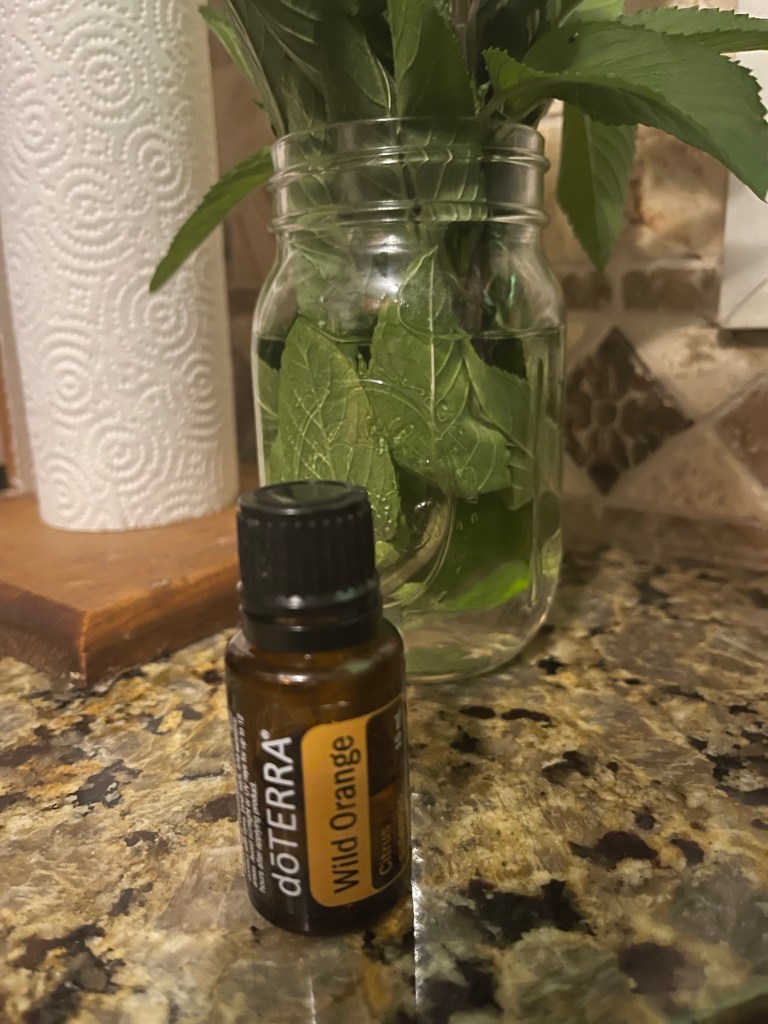
I am also a herbalist, and enjoyed growing our own herbs for cooking, making teas, and also for minor medial problems for years. I also love sharing them with family and friends. The most recent addition to living a cleaner and healthier life, was the decision to become a doTERRA essential oil consultant. I’ve used essential oils for years, and finally decided that I would become a consultant and purchase from myself rather than online markets. This line is the best that I’ve used thus far and it’s also a nice little supplemental income as well. With a holistic lifestyle come lots of questions. The primary questions I am asked are, why and how.
The first question is the most common question. What inspired you to lead a holistic life? I always answer that question with a question. Why wouldn’t I? Then I begin to explain I chose this lifestyle for my health, my peace of mind, and simply put, for my life. I also add some details about the astounding amount of research revealing the high level of toxins, preservatives, and additives that basically poison the human body and our environment. These toxins are found in food, fast foods, shampoos, soaps, toothpaste, makeup, perfumes. detergents, cleaning products, air fresheners, candles, and even in our pet’s food. I’ll share another story in a different post of how we nearly lost my canine baby due to additives in what was supposed to be healthy doggie treats. That was a real eye-opener!
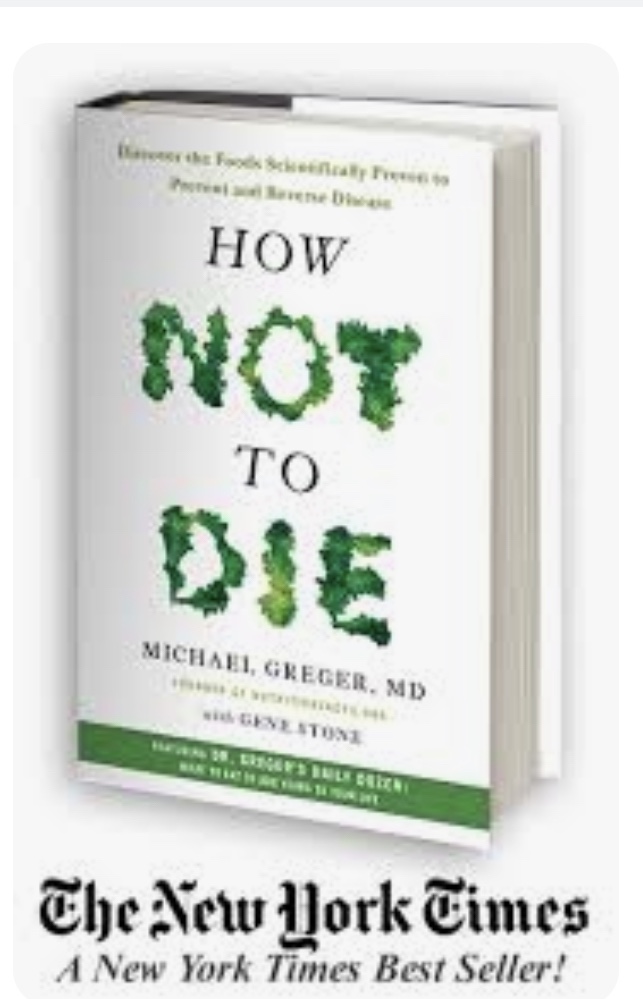
I always share one of the most informative books that I’ve ever read was, How Not to Die, written by Dr Gregor. There is so much information revealed within the covers of this book that confirmed my reasons for eating clean, and eating cleaner than I had been eating. His research also solidified my thoughts about why I had been food poisoned by fast food on more than one occasion, why we nearly lost our house dog, and why cleaning products and certain air fresheners lead to smothering and irritated sinuses. He exposes much about how these horrific toxins are actually allowed to be in our foods, pet foods, cleaning products, and even in medicines and vitamins that we think are helping us.
Secondly, I’m asked if it was a difficult transition. My answer is no. You don’t have to make the plunge and change everything at once. I made changes over a period time with my diet and I did the same thing with household items, hygiene items, and even my car air fresheners. I didn’t see the need to waste products that I already had on hand, so as I would empty an item, I would replace it with plant based, organic, and a cleaner item. First on the list, I would begin eliminating the toxins from my our home and our vehicles. My first elimination was laundry detergent. To prevent waste, after exhausting the last of my stock, I began using organic plant based detergents that didn’t require fabric softeners. There were some products that I had in my home that I could not convince myself to continue using. Those plug in air fresheners were tossed in the garbage, empty or not!
With the various air fresheners gone, I replaced them with diffusers for essential oils to help clean and purify the air and also bring a wide array of wonderful scents into the house. One by one I replaced our cleaning supplies with either organic plant based cleaning supplies or homemade supplies from natural ingredients. It’s quite amazing how many options are on the market and what’s even more amazing is the number of cleaners you can make using essential oils! I’ll share my bathroom cleaner soon! It cleans great, easy to make, and also prevents those toxic fumes that no one likes.
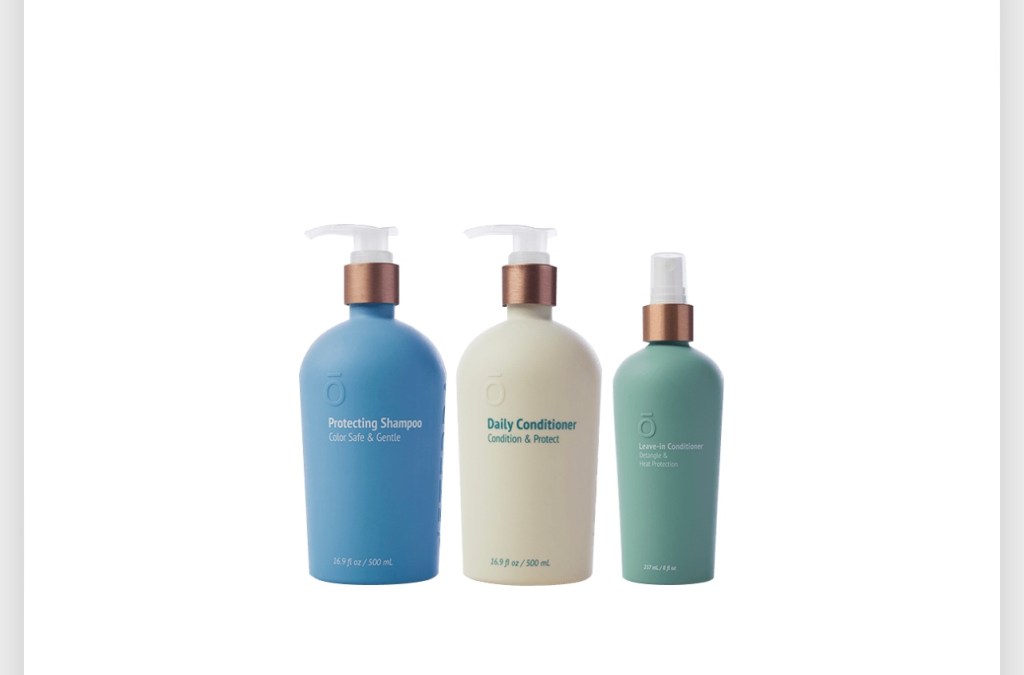
The next change was hair care products and tooth paste. doTERRA made that change easy for me as well. They have a wonderful plant based shampoo that incorporates essential oils, and a fantastic plant/based conditioner, and leave in conditioner that is excellent! I can’t even explain how wonderful my hair feels after using these products! My hair shines so much more than before and it feels less weighted. I also made the transition from usual tooth paste to a clean toxin free tooth paste from doTERRA. I chose this toothpaste simply because I’m a doTERRA consultant, and after trying it… it works! My teeth are clean and white and after reading the list of ingredients in my old toothpaste, it was an easy transition and one that I am happy I made.
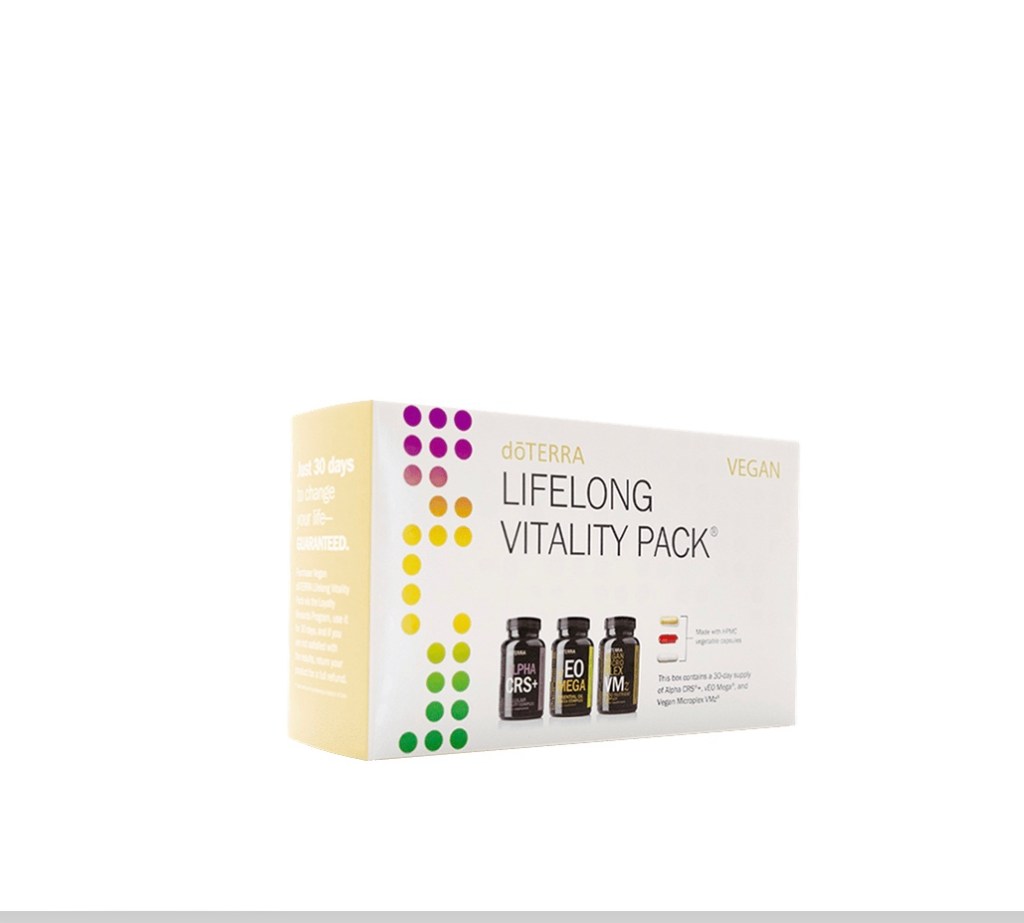
Finally, vitamins was the next item to begin changing. It was easy to switch vitamins with doTERRA. The vegan vitality pack is on my monthly auto order. I love these vitamins as they’re all plant based, no additives, or artificial colors added, and they’re in veggie capsules. Essential oils, homegrown herbs, and homemade teas helps with common cold symptoms, allergies, scrapes and minor abrasions. I could go on forever with the reasons why I chose a holistic lifestyle.
I’m asked if I miss fast foods, soft drinks, and what in the world do I do about coffee. Number one, I don’t miss fast foods. As a matter of fact, the cleaner you eat, the less you even want fast foods. My husband and I now prefer food prepared at home ten to one over restaurant foods. I gave soft drinks up over twenty years ago for my own personal health and have never looked back. I’ll be honest, coffee change took a while. It took a little while and a lot of different coffees to find a good organic coffee that I truly enjoyed, but have finally found one that is very satisfying. I have also replaced much of the coffee that I drank during the day and evenings with organic and my homemade teas.

Finally, I’m asked if I feel better physically since making so many changes. Simply omitting meats and dairy from my diet was a game changer with my cholesterol and inflammation. Omitting artificial colors, scents, and toxic preservatives really made a positive impact on my allergies. Plant based vitamins, a good clean diet, and the removal of toxic smells in our home has made a positive impact on my overall health, stamina, and lead to a much more simple life that makes me happy knowing I am doing something to improve my quality of life, my families, and decreasing the chances of disease in our bodies.

If you’re interested in holistic living, start slow. Remove one thing at a time. Don’t try to do it all at one time! You’ll become overwhelmed, which might result in giving up. Make one change and allow that change to become a routine. Once you feel grounded and content with that change, make a second change. As you empty or exhaust a supply of one particular item, replace it with a cleaner wholesome item. Read the labels, do the research, do a little soul searching, meditate, pray, and take holistic living one day and one change at a time.

I hope you’ve enjoyed this post. Feel free to leave comments. I enjoy reading comments and answering questions. For now, God bless from the mountains of Kentucky! Happy Fall!!!