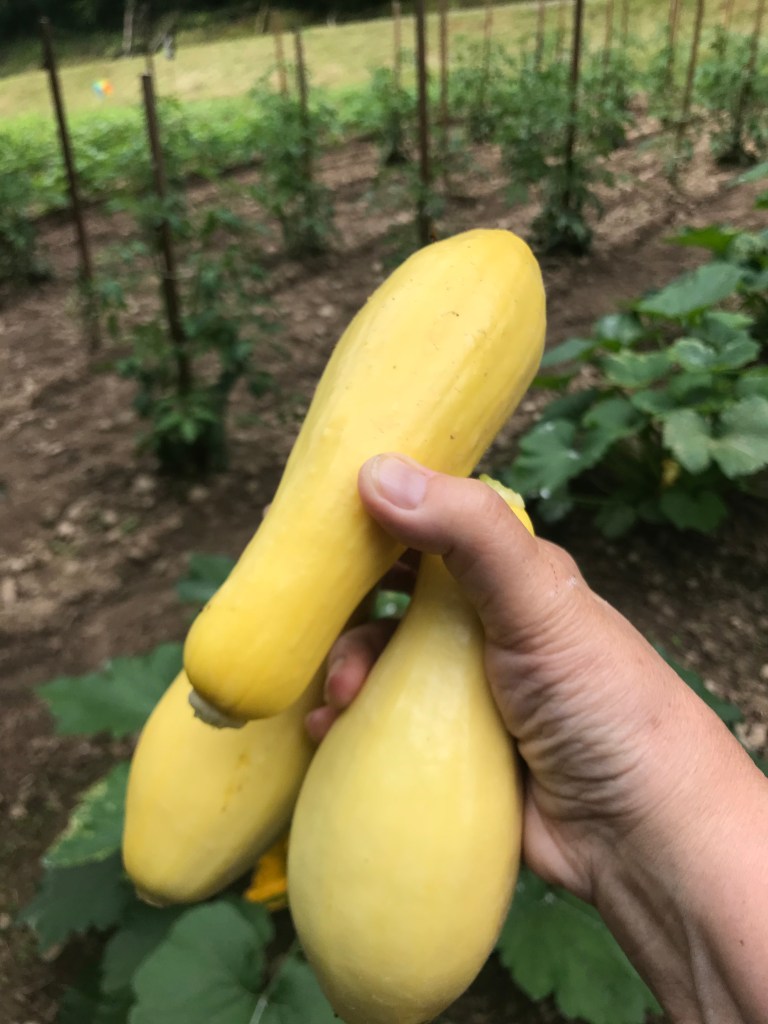
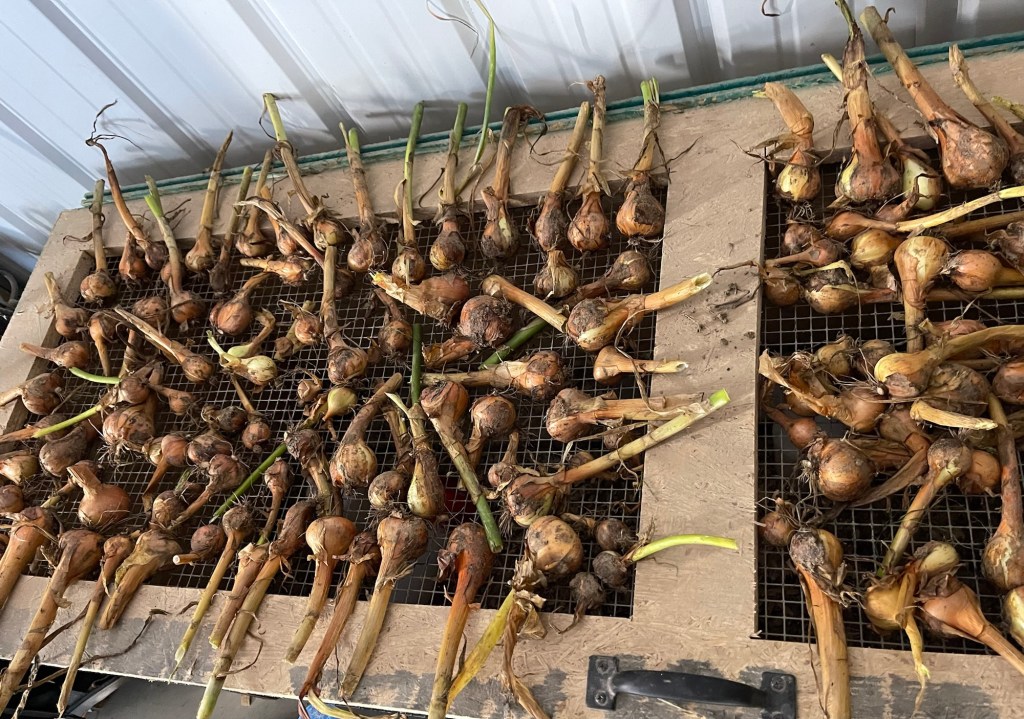
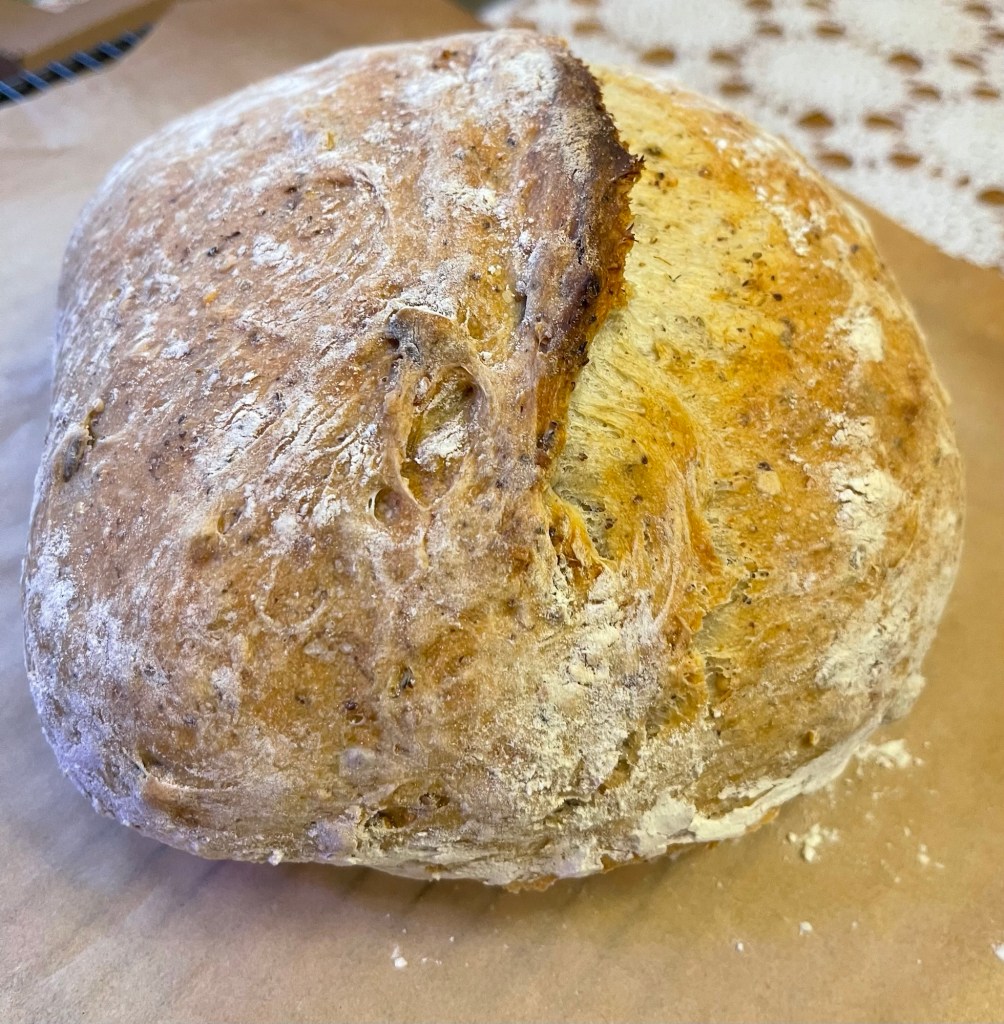
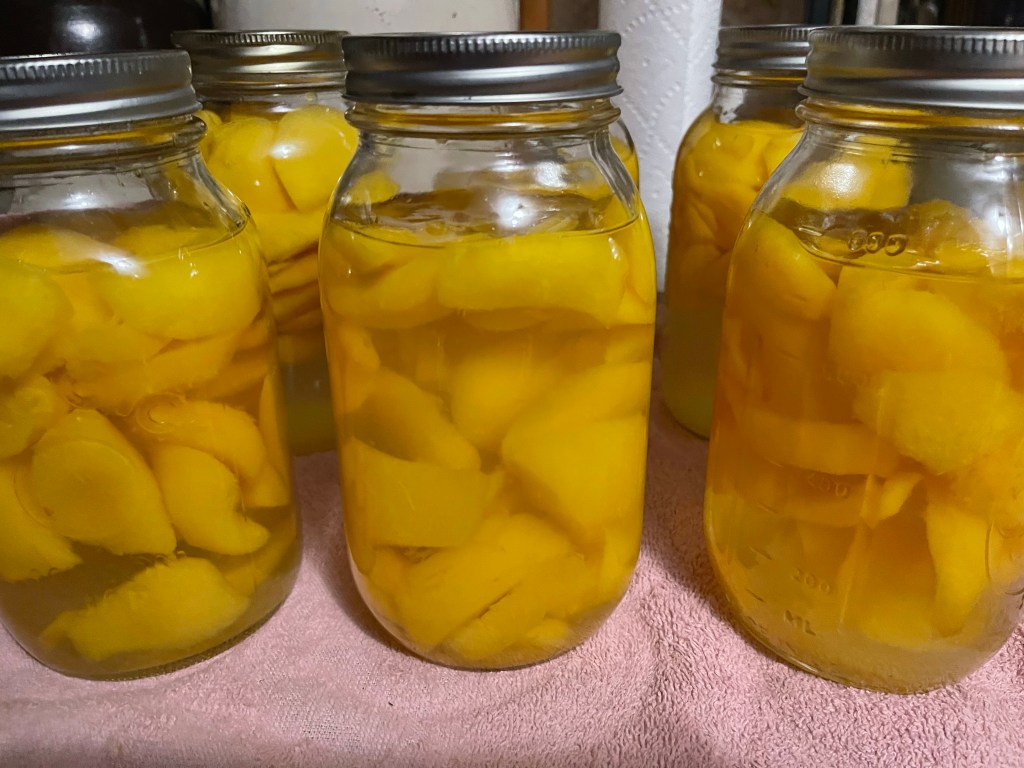
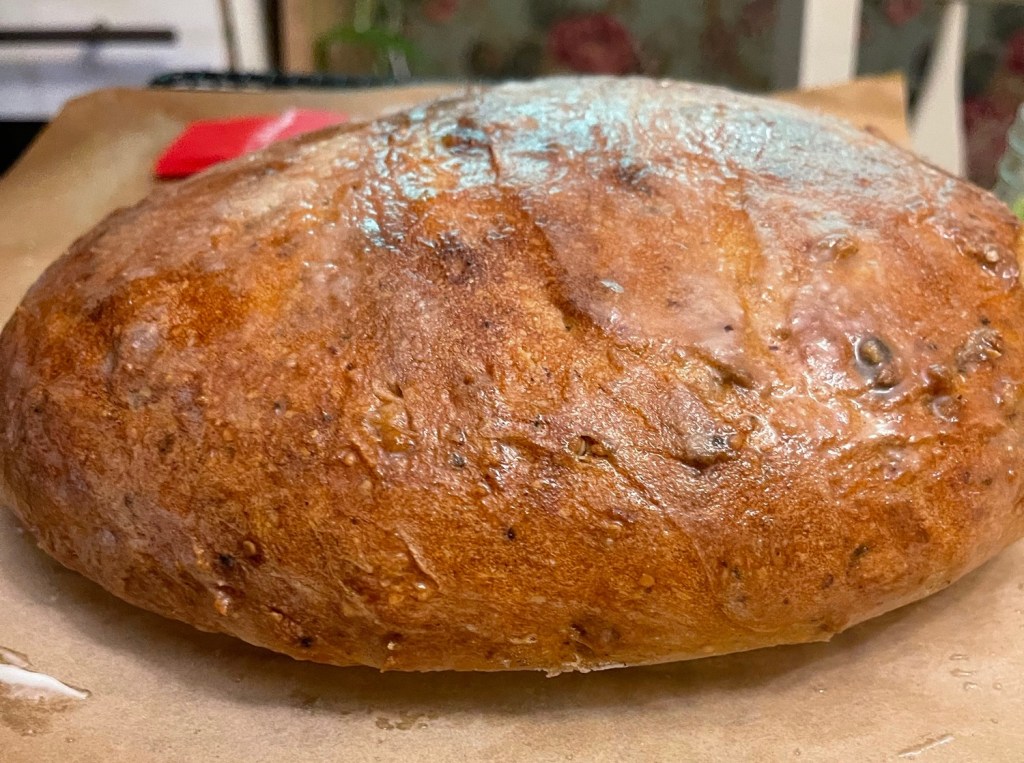
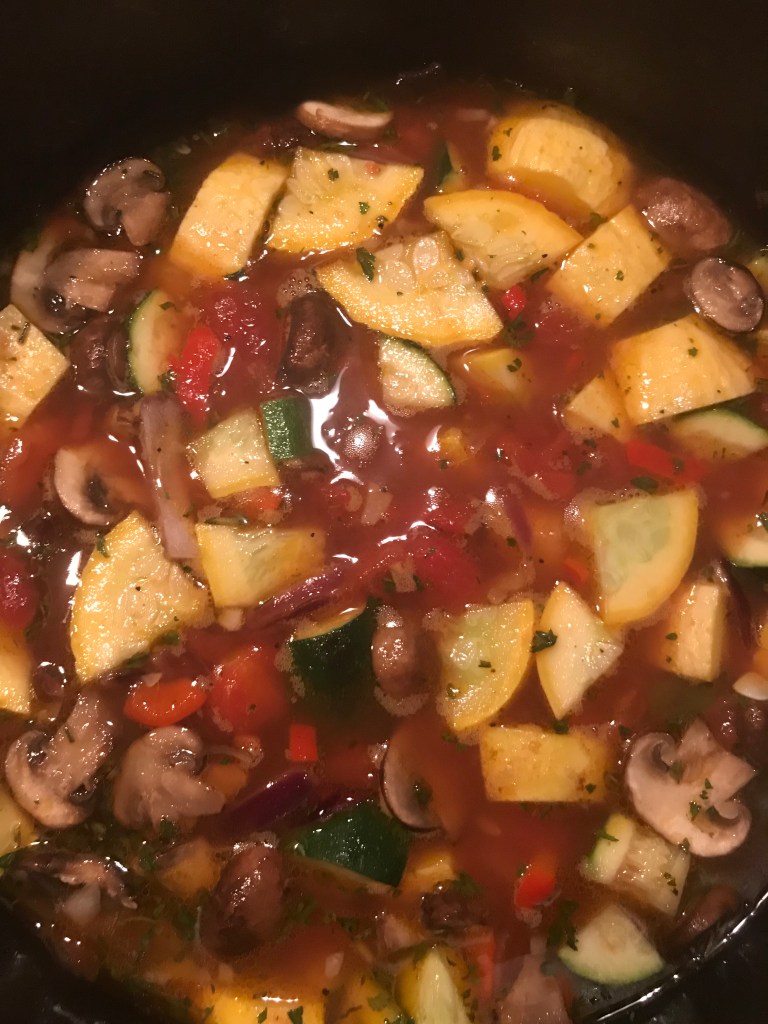
Hello from the mountains of Kentucky. It’s a dreary winter day in the Appalachian Mountains. We are preparing for the winter storm that is expected to slam our area this weekend. With ensuring we have gasoline for the generators, propane for the fireplace and space heaters, thankfully, we always have food from our own vegetables, fruit, and wild game. Yesterday was spent baking bread and sweet treats. Today is prepping taco meat for the hubby, vegetable soup for me, and making some candy for the grandchildren. We have electronics charged, board games ready, and plenty of books to ready and yarn to crochet. The animals are being bedded down, and we’re ready to hunker down and embrace the storm with each other and expect the Lord to watch over all of us.

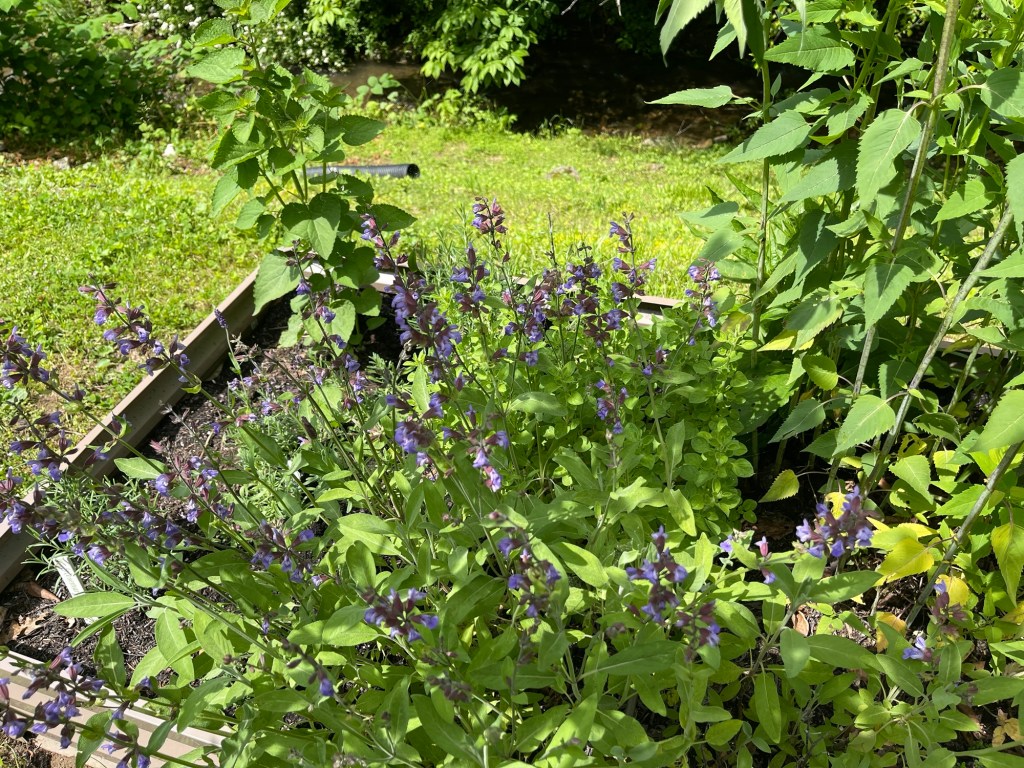
With that being said, the storm has increased the anticipation of spring. I am anxiously counting down the days down. I am ready to get outside, plant, and enjoy the rich mountain air. I have been a bit MIA for a bit online. But anticipate more posts coming soon. Today, I want to share another of my favorite herbs with you, number nine on my top ten herbs is, sage.

When we think of sage, we typically think of Thanksgiving cornbread dressing with the rich taste of sage. I must say that there is no comparison in taste when between processed sage and fresh grown organic sage. It is true, sage is much more than a seasoning or culinary herb that is used in cooking, it has been used for centuries for medicinal purposes.
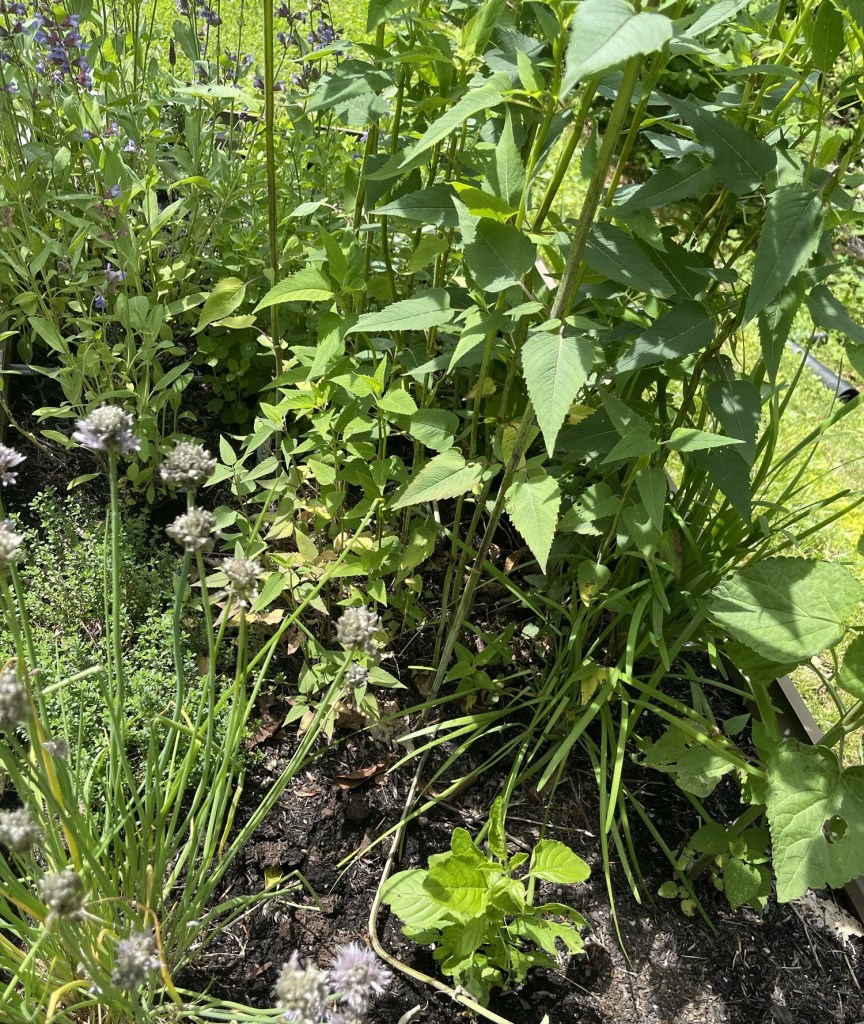
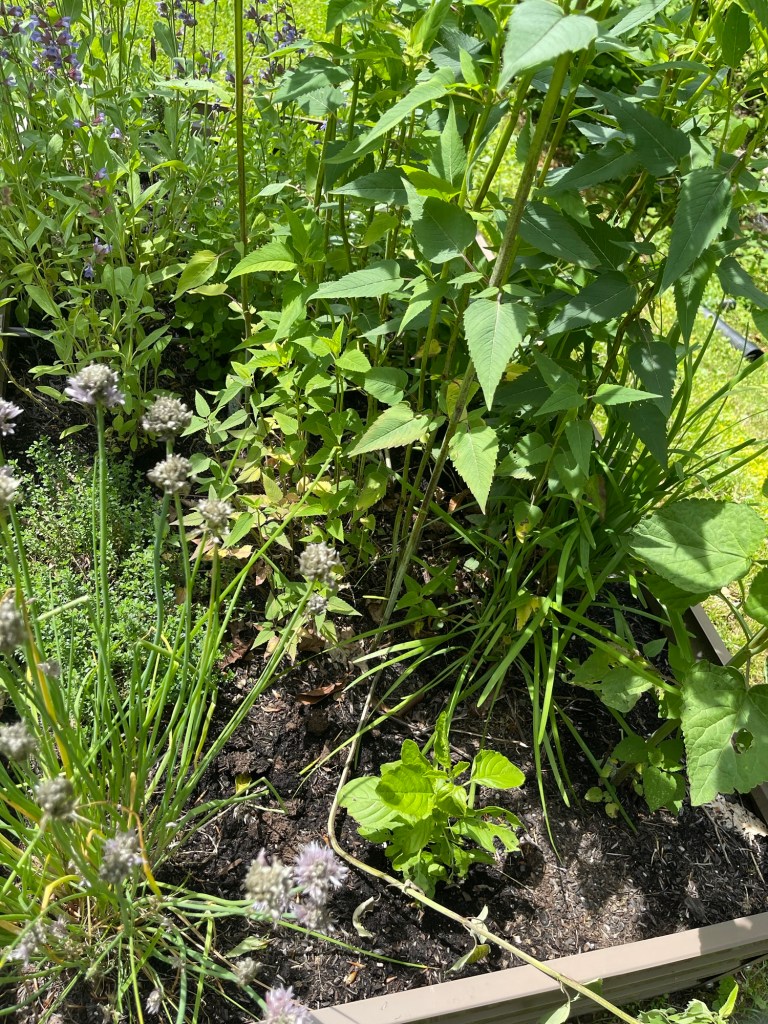
My favorite sage is what we refer to as common sage. Sage derives from the Mediterranean. It is scientifically known as, Salvia officinalis. It is a perennial and a woodsy evergreen type plant. sage can grow as tall as two to three feet. Our sage is planted in a raised bed that I cover for the winter to protect the herbs roots. Even though sage is a perennial herb, I like to either bed the roots over with straw or have found it easiest to cover the bed, which protects our sage as well as the other herbs I have planted in the bed.
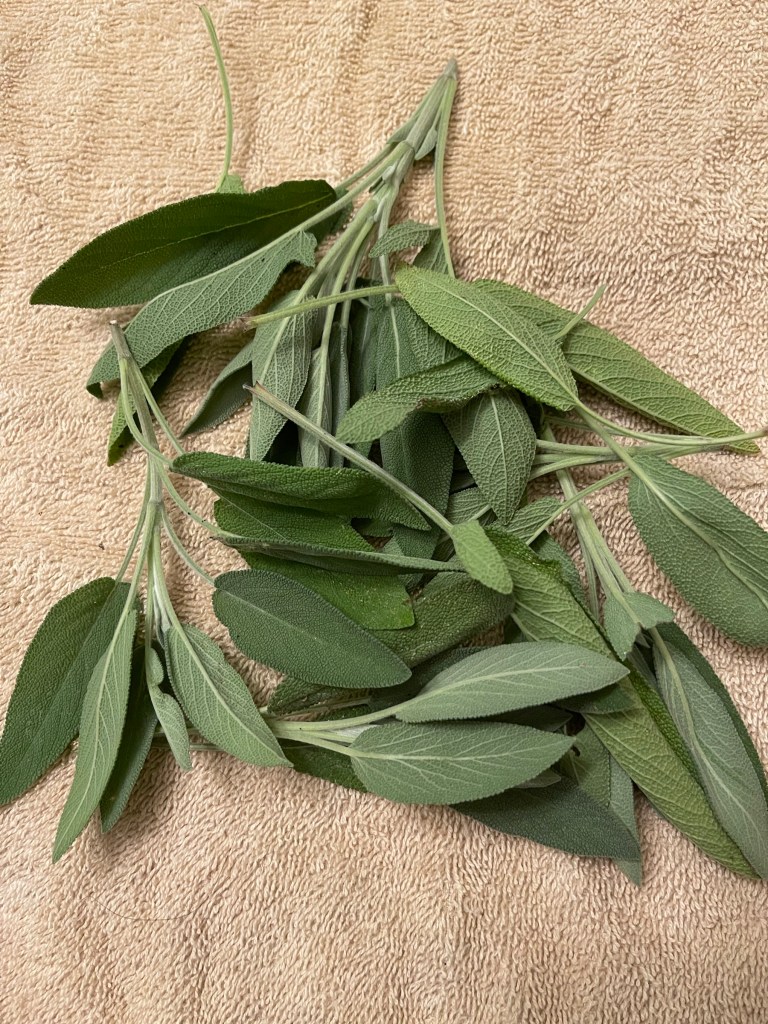
Sage requires pruning to keep it from becoming too woody and leggy. I clip the leaves throughout the summer and early fall to add to dishes. I usually prune mid summer and a final heavy pruning in the fall. The leaves will typically hold up to a light frost but should be harvested by late fall.
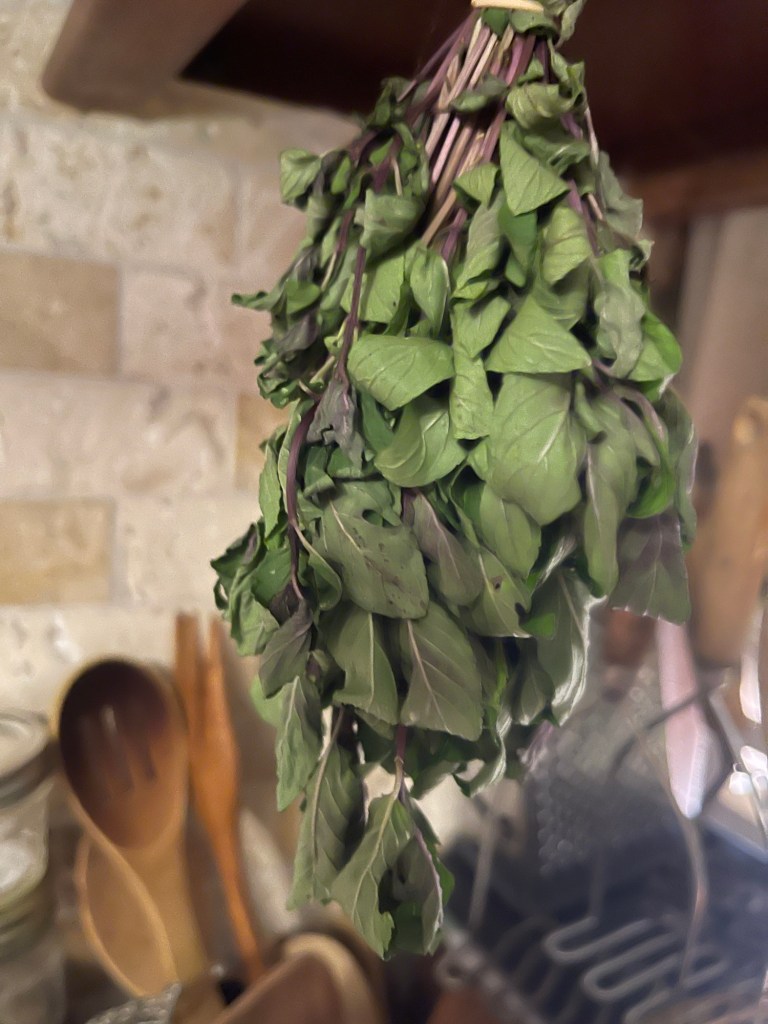
When drying sage, I clip the leaves from the stems and dry those in the hanging drying rack. I also like to bundle some of the less woody stems of leaves and allow them to hang dry. When air drying the herb should be away from direct sunlight. Filtered light is okay. Once the leaves are dry enough to crumble, they’re ready to store. I store whole leaves to help retain the flavor and strength of the herb. I simply crumble the leaves between my hands or use a small spice grinder for a finer spice before adding to the food. Sage is a great addictive for soups, eggs, stuffing/dressing, mashed potatoes and more. I also enjoy adding sage to my hushpuppy mix. I have had frequent comments about my hush puppies. Some want to know what I add that makes them so savory and tasty.
Sage has several medicinal uses, including testimonies of improving cognitive function. I had a college professor who was a Native American. He always burned dried sage leaves during our tests. He was the first person I actually encountered that used sage for a medicinal need. Sage is also been know to be beneficial in aiding digestion, and even reducing symptoms of menopause such as hot flashes. Sage possesses antioxidant and antimicrobial properties, which can help protect against cell damage and support oral health. As you can see sage is more than an herb! It is a multipurpose herb that should be in every household!
God bless from the mountains of Kentucky! Feel free to subscribe to receive notifications of each new post. Also, feel free to leave a comment or ask a question. From our homestead to yours, May the Lord bless you abundantly.