
My husband and I both grew up in the mountains of Kentucky where summers were long, hot, and filled with outdoor adventures. Playing in the creek, swimming in the river, and exploring the mountains was part of our weekly routines. But, mountain living was not all fun and games. We had daily chores to do as well, many of our chores were garden related. Neither of us are strangers to garden-work, or the work that comes with harvesting.
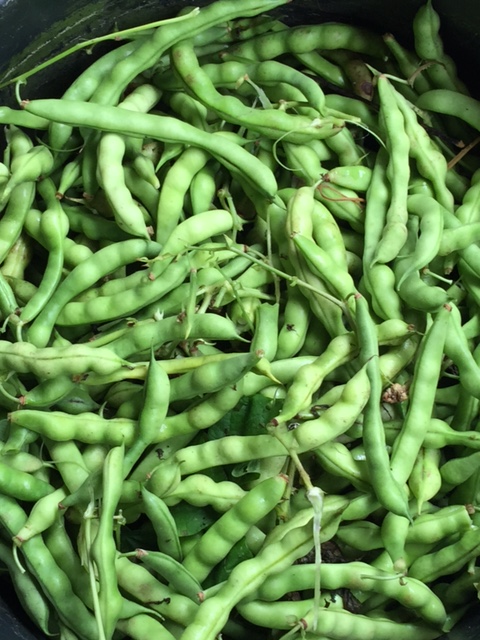
Speaking of harvest time…it’s harvest time on our small farm! We’ve been picking green beans for weeks to eat for supper, and we’ve put a few quart bags in the freezer. But, it’s that time of year when the vines are hanging full of beautiful green beans, which means it’s picking time! Last week, while my husband and I were picking beans and canning, we began reminiscing about the jobs we were given as children during canning time. It was unanimous, both of us were always designated, the washing jobs. Yes, we were washers. We determined that it was our small hands that landed us this job. We didn’t mind, because we both loved canning, even as children. We still enjoy the pleasures and work that comes with the bounty of a garden.
It’s not too late to fill your pantry shelves with your very own canned green beans. I’m excited to share my family’s recipe for canning green beans with you. This is an easy and time-tested recipe that our family has used for generations. I know your family will enjoy these tasty green beans this winter when the snow is flying as much as we do!
Ingredients & Tools
1 bushel of fresh green beans (this yields 12-13 quart jars)
1 dozen quart canning jars with lids & rings
iodized table salt
water & canner
1) Find somewhere comfortable to string and break your beans. We prefer sitting outside on the porch and stringing in the early morning hours. However, when it’s too hot, we’ve been found stringing them in the kitchen where it’s nice and cool!

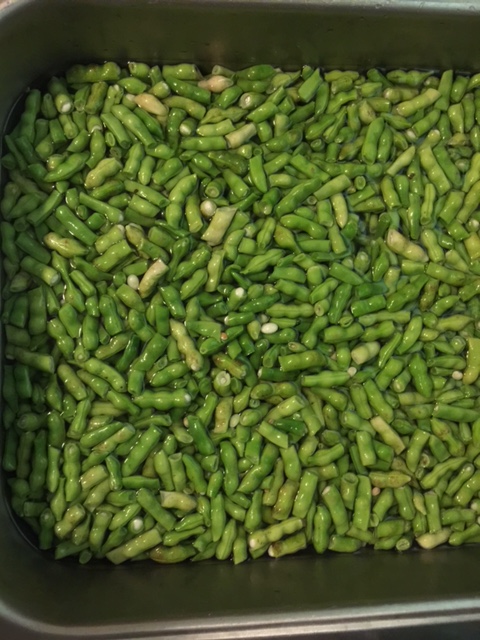
2) Next, wash the beans in cool tap water to remove any traces of garden dirt, or insects.
3) Wash jars, rings, and flats carefully in hot soapy water.

4) Sterilize jars, rings, and flats by placing them in boiling water for ten minutes. I use the canner to boil my jars in. Sterilizing jars is a must. It helps prevent bacteria from forming.

5) Fill warm jars with clean beans and add boiling water. Allow an inch for head-space. Add a teaspoon of salt to each jar of beans. Place flat on the top of the jar and tighten the ring. The ring doesn’t have to be extremely tight, as you will tighten them again after the canning process.

6) Carefully place filled jars in canner of hot water. The water should cover the jars with at least one inch of water. Place the lid on the canner and turn the heat up to medium high.
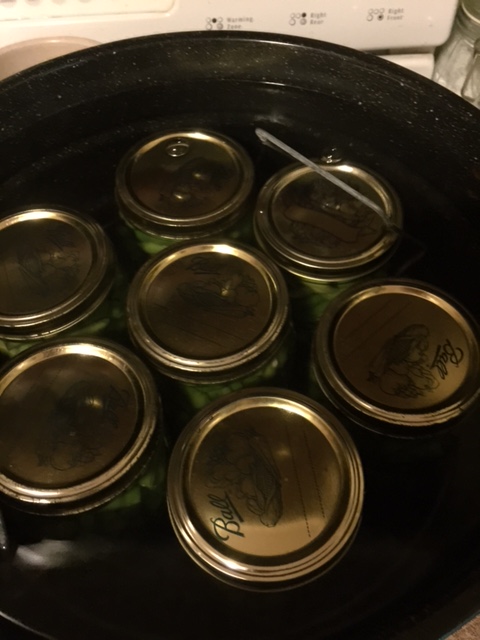
My Canner holds seven quart jars
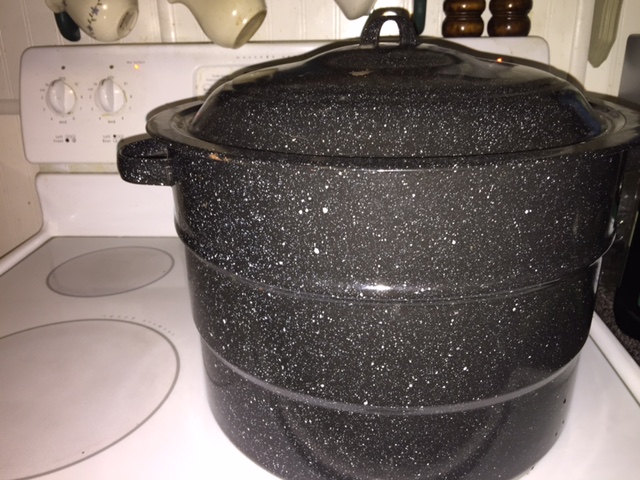
This is my canner that I have used for years! I found
it at the Dollar General Store for 10.00!
7) After the water comes to a boil, set the timer for an hour. Process beans the entire time.
8) Turn the burner off and carefully remove jars out of the boiling water with a jar lifter. If you don’t have a jar lifter, you can dip some of the water out and remove the jars with an oven mitt, or a rubber glove. I place my jars on the counter top on a bath towel to cool. You should immediately hear that wonderful popping sound that ensures your jars are sealing! Once they’ve cooled check rings, and tighten as needed.

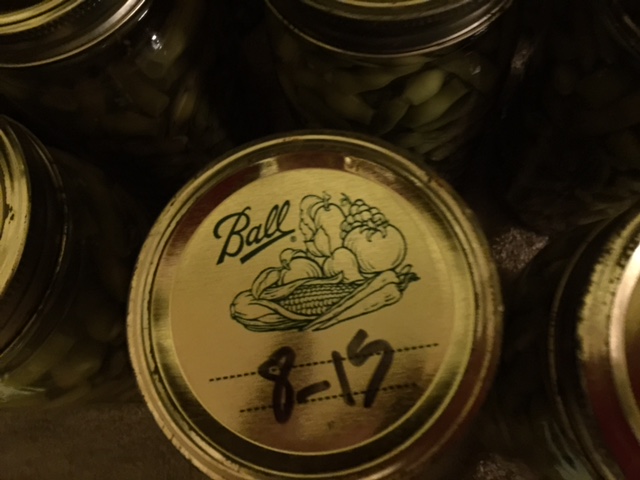
9) After the jars have cooled, write the month and year as well as the variety of beans on the lid with a permanent marker. Now your ready to fill your pantry with your very own beautiful green beans!
My family has loved these tasty beans for generations. I must admit, I enjoy the feeling of accomplishment and small sense of pride that I feel when I open a fresh jar of my very own green beans. They’re a wonderful treat in the winter when the ground is covered with snow! They’re also a great addition to homemade vegetable soup, but that’s a recipe for another blog! Truthfully, they make a fine addition to any meal, any time of the year! I hope you and your family enjoy my time-tested green beans year after year! Feel free to share my blog with family and friends. I would love to hear from you! Feel free to leave a comment and share you families canning experience!
Discover more from A Healthier Me...Homesteading Simple & Clean
Subscribe to get the latest posts sent to your email.

That sounds like a great method to store beans. We are overrun with beans right now and have been freezing and pickling. Thanks for sharing your family recipe. Take care. Bob
LikeLiked by 1 person
It is a great way to enjoy the fresh taste of fresh beans all year round. Our freezer is getting full as well. Thank you Bob for your feedback. It’s appreciated very much.
LikeLike
Pingback: Canning Tomato Juice the Easy Way! | A Healthier Me...Simple & Clean
Pingback: Vegan Chocolate Chip Coconut Protein Bites | A Healthier Me...Simple & Clean
Pingback: Canning One Jar at a Time | A Healthier Me...Simple & Clean
Pingback: Zucchini Bread, Green-beans, and More! | A Healthier Me...Homesteading Simple & Clean
Pingback: Why We Homestead | A Healthier Me...Homesteading Simple & Clean
Pingback: Ten Helpful Homesteading Skills | A Healthier Me...Homesteading Simple & Clean