I love fall, but I’m saddened about not being able to step outside my backdoor and clip fresh herbs. My summer herbs are still green, perky, and plentiful…but their days are numbered! Even though I love fall, and will miss fresh herbs, it’s time to focus on the chore of harvesting herbs. To harvest tasty herbs, the herbs must be green and still full of life. Fresh herbs make any dish taste better. I cut fresh basil this morning for an omelet…delicious to say the least! As tasty as summer herbs are during the hot months…they still kick your dishes up a notch when they are dried. Dried herbs can be used year around, but are especially a treat during the cold winter months. Drying herbs can be a bit of a slow process, depending on the method that you choose. Drying herbs is the process that I thoroughly enjoy the most!

My backdoor herb box
When I made the choice to eat clean, I also made the choice to grow my own herbs. What better way to know that your herbs are truly organically grown! I was also eager to try different types of sweeteners. I found that I love using agave nectar and honey, but sometimes a dry sweetener is necessary. After researching, and speaking with some wise old farmers about stevia, my mind was made up. I would grow and harvest my own sweetener!
Stevia is a beautiful green plant that is very easy to grow. It takes very little maintenance, other than water, regular pruning, and a lots of sunshine! I decided to start small, since it was a new herb in my garden. I planted a very large pot of the beautiful green plant. One pot of the sweet herb has provided through the spring and summer months, and is now ready to be harvested for the fall and winter months ahead.
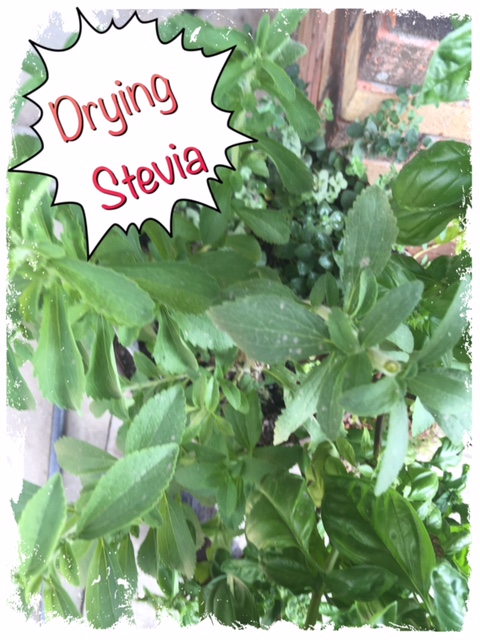
Sweet Herb/Stevia growing outside my back door!
The process is fairly simple. There are a variety of methods of drying herbs. You may air dry them by placing in them in shallow pans, dehydrate them, hang them to dry, or oven dry them. If you plan to dehydrate your herbs, or in a flat pan, simply clip the desired amount of shoots of the sweet herb, and then clip off the leaves. If you dry them by hanging them, you will not need to clip the leaves.
I prefer to dry stevia in a pan in a dark room near filtered window light. No matter the method discard leaves that may be bruised, or have brown spots on them. Rinse the leaves to remove any pests, or dust and allow to air dry. Once the leaves are dry place them in a dry shallow pan near filtered window light in a dark room. Be patient, and check the herbs in a couple of days. You may occasionally manipulate the leaves to allow even drying. After about two weeks, your leaves should be dry enough to pass the crunch test. The crunch test, is simply hearing the crisp and crunchy sound when you crumble the leaves. If they pass the test, you are ready. If they do not pass the crunch test, allow a few more days and check them again.
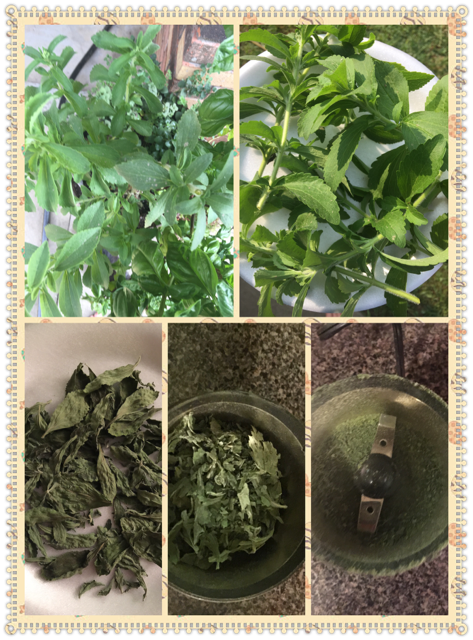
Process:
Dry leaves in a shallow pan in a dark room with filtered light
When leaves pass the crunch test, crumble the leaves by hand onto a clean white paper towel or large pan.
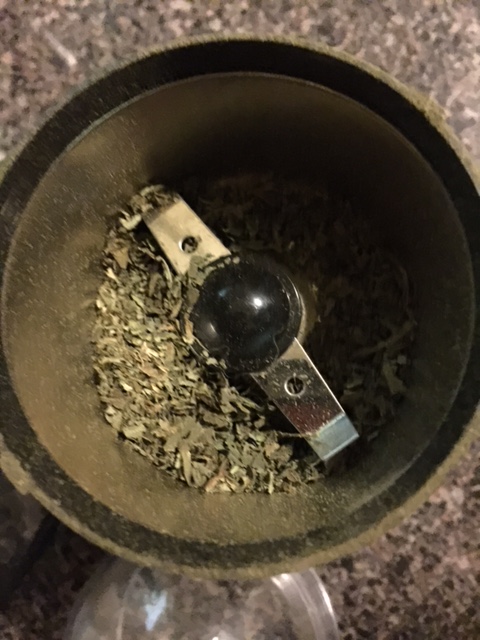
Place crumbled leaves in a coffee grinder.
Pulse until you’ve reached the desired consistency.
Place fresh ground herbs in a clear glass jar with a lid. (I prefer glass jars to preserve the freshness of the plant.)
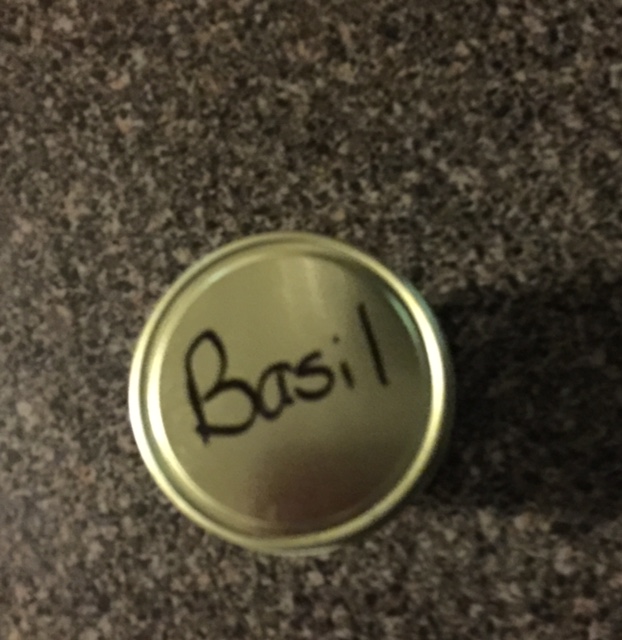
Label the Lid or Jar to identify the herb.
Growing & drying stevia
Enjoy your organically grown stevia in teas, desserts, canning, and more. If you have enjoyed learning about growing and drying stevia, be sure to check out Drying Fresh Basil. I look forward to hearing from you! I would love to know how you incorporate fresh stevia in your favorite dishes.