Homesteading in the Mountains

Hello, from the mountains of Kentucky! It’s been a dry hot month in our area of the world. With May being extremely wet, we anticipated June to be dry, but not this dry. The lack of rain has presented challenges for our vegetable garden. We’ve hand watered a couple of times a week and babied all the veggies with hopes and prayers for a good harvest. How’s the weather been in your area?

Foggy morning in the mountains.

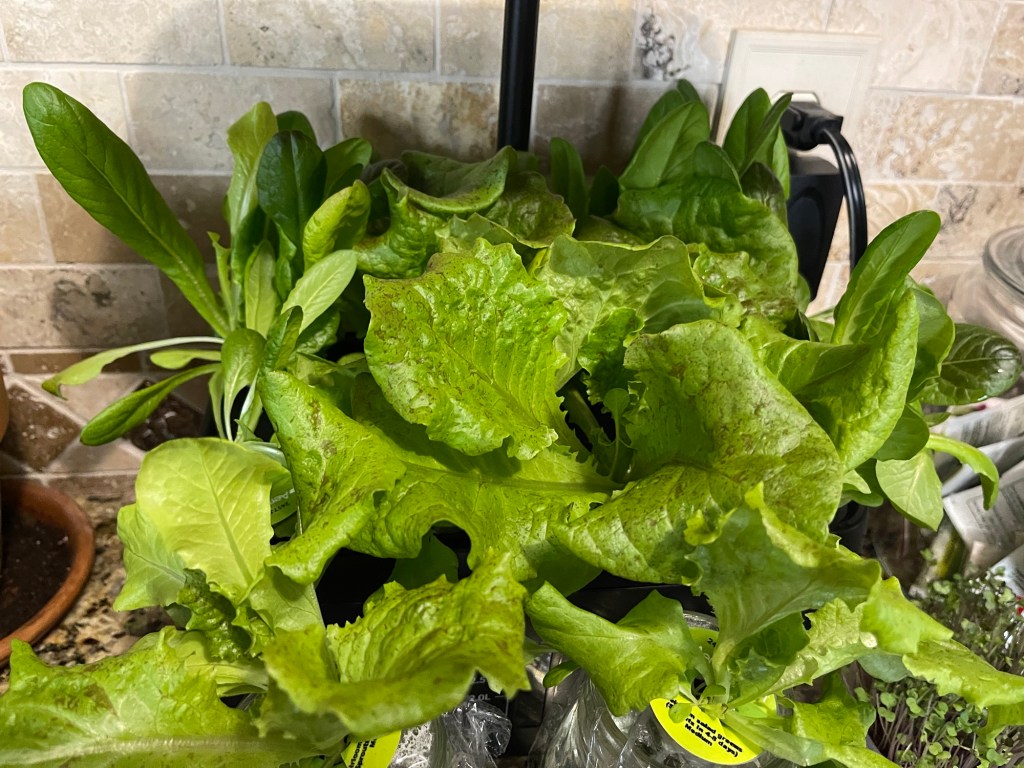
We are often asked what it means to homestead. Homesteading was our grandparents way of life, their parents, and even their grandparents. We grew up learning how to farm. So, to our family, homesteading means that we can be self sufficient. Self sufficient means growing, harvesting, and preserving our own fruits and vegetables. We eat from our garden throughout the year. We enjoy fresh vegetables in the summer and fall, and preserve vegetables, soups, and vegetable juices for the winter and early spring months. We make use of hydroponic gardens year round. I like to grow salad lettuce year round in the hydroponic garden. It’s easy, clean, and ensures fresh lettuce at your fingertips. The staples we cannot grow are bought in organic bulk supplies.

Early summer vegetable garden.
Small hydroponic lettuce garden.

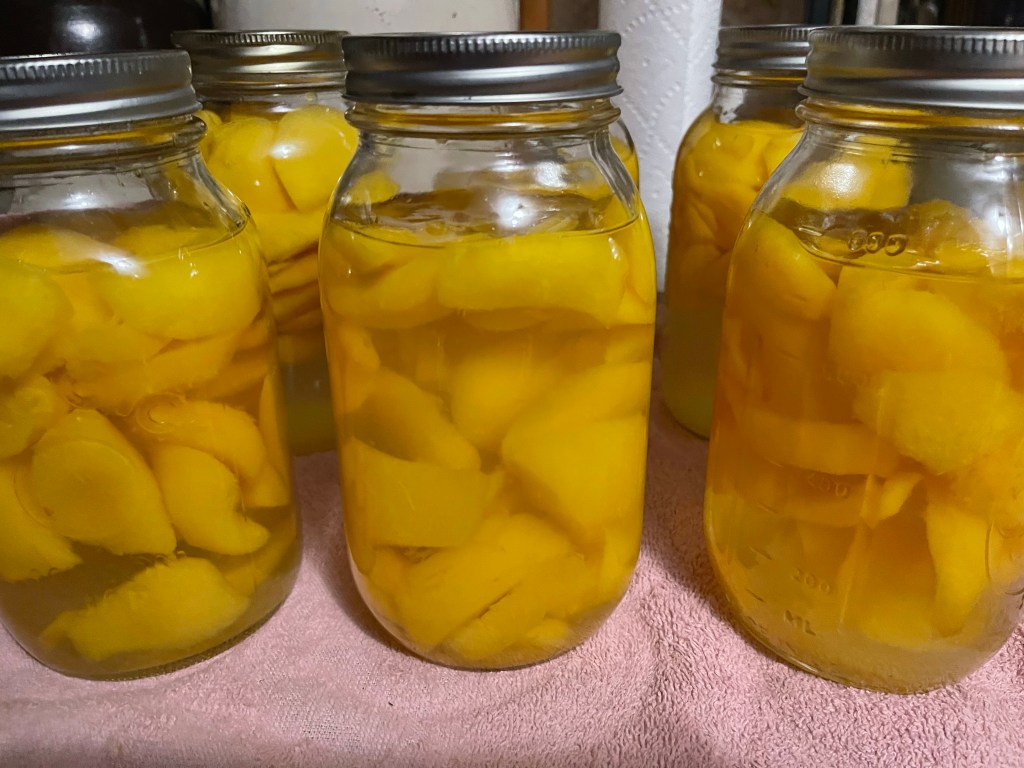
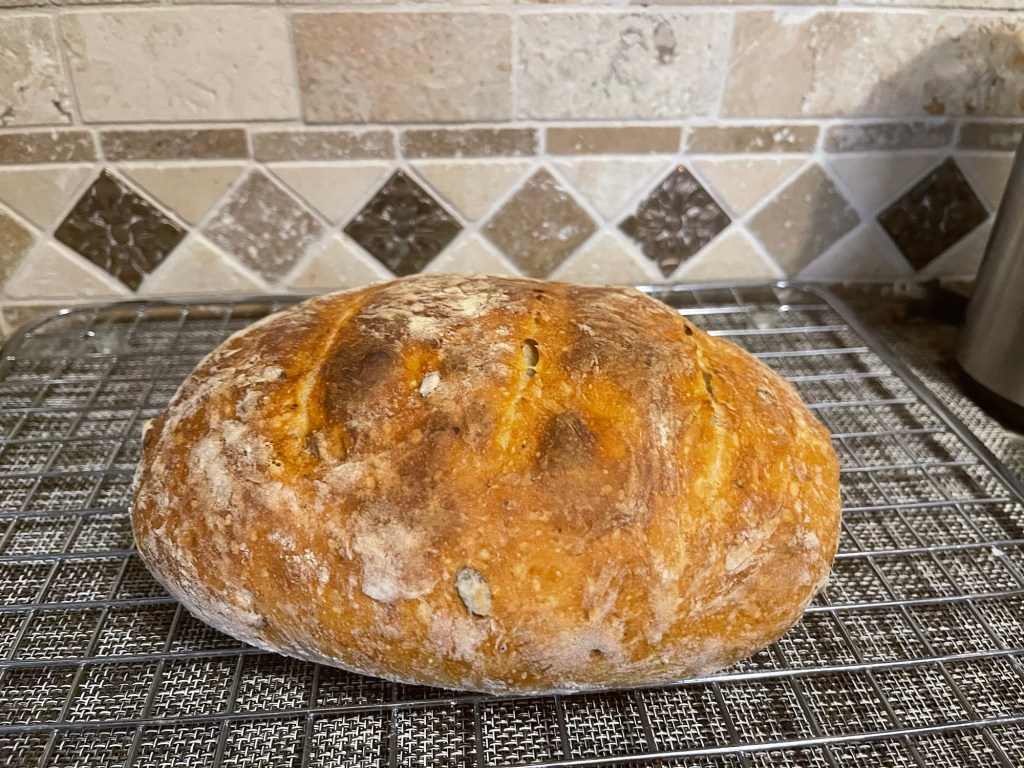
Homesteading also means we eat cleaner and healthier. We accomplish this through bypassing as many store bought prepackaged foods as possible. We enjoy baking our families breads, cakes, pies, and cookies, instead of buying unhealthy food that is filled with an abundance of sugars and unhealthy preservatives. One of our favorite homemade bread recipes can be found in the following link. Give Us This Day Our Daily Bread: Homemade Crusty Vegan Bread We also preserve fresh fruits to ensure we have jams and jellies for toast and biscuits. We enjoy foraging berries for dishes and jellies. There’s nothing much better than homemade jam spread on homemade bread for breakfast. Canning My Favorite Peaches

Homemade crusty seeded yeast bread
Canned strawberry preserves

Fresh eggs are gathered daily for breakfast and for baking. Fishing, to us is more than a pastime. Fish is caught from the lakes and rivers for the freezer to use later for fish dinners. The mountains provide an abundance of squirrels, rabbits, and deer for meat that is frozen for roasts, chili, and others dishes. We do not raise cattle, but buy fresh beef and hog meat yearly from friends that provides for the year.

Farm fresh eggs
Canning and preserving peaches.

One part of homesteading that I enjoy immensely is growing our own herbs. The herbs ensure we have spices, teas, tasty leaves for salads, and herbs for medicinal remedies. The herbs provide beautiful blooms that bring in an abundance of pollinators for our garden. The diverse mint that we grow makes great hot or cold tea, is a wonderful additive to cookies and hot chocolates, and can help sooth a bee sting.

Potted peppermint grown for tea.

Essential Oils, Tea Bags, and Bee Stings

Foraging mullein.
Drying mullein for tea.

We enjoy foraging for various plants to use for food, teas, and medicinal purposes. We harvest mullein, pictured above as tea to help alleviate coughing and congestion. We also enjoy bartering with friends and neighbors. If we have an abundance of corn or beans we may barter with friends for a vegetable or fruit that we don’t have.

One post cannot cover it all! This is a brief glimpse into our lives as homesteaders. I guess the best description is that we enjoy being self-sufficient, and being able to sustain our farm that provides for our family. We enjoy the simple things in life, family, friends, gardening, preserving, and nature. We enjoy church and our church families. We love the Lord, His ways, and serving Him. We believe in working for what we have, enjoy thrifting for antiques, repurposing things from the past, reading, and writing. We enjoy holistic living, cooking, baking, and taking care of our animals, and sharing God’s love and His goodness with others. Head on over to Apple Podcasts to listen to my podcast, Homesteading in the Mountains, to learn more about our homestead and homesteading projects.

For now, God bless from the mountains of Kentucky. Feel free to like, comment, and or follow. I enjoy hearing from my readers. Let me know if you would like to read more about our life homesteading in the mountains.

Canning My Favorite Peaches

Hello, from the mountains of Kentucky. Quick update on my recovery; Tuesday was week four since I had a total hip replacement. Let me say how good God is. I never encountered the pain that I was told I would have after surgery. Pain medicine was not required, for which I was happy. I don’t like to take medicines due to their negative side-effects on my body. I am in week four of physical therapy and walking without any assistance. I have exceeded the expectations of my surgeon and my therapist. Praise God, I feel better than I’ve felt in several years. I am resuming daily walking, a high-plant-protein diet, and loving time working in my herb garden. I am not yet working in the vegetable garden due to not being released to bend deeply or kneel. But, I have been canning! I should be ready to work in the garden when it’s harvest time. God is so good and He is ever-present. Now, onto the post! I just couldn’t help but brag about our God.

Fresh basil, oregano, and rosemary clipper today..

I’ve been cutting and harvesting herbs this morning and now I have a 1/4 bushel of peaches facing me. So, what do you do when you have this yummy fruit. The answer is to preserve for those cold winter days when the fruit-bearing season is over. I like to freeze peaches in small servings for oatmeal, as a healthy side of fruit, and for a quick serving of sorbet. But, today, I am planning for the uncertain days that lie ahead of us. With the prices of food in the grocery store, it’s a treat to walk downstairs and select home-canned food for supper and fresh canned peaches for a sweet treat. Now, let’s can those peaches!

Fresh peaches ready for canning!

Ingredients for Light Peaches:

1/4 quarter of fresh peaches

12 cups of water (bottled or filtered water is best)

2 cup of organic cane sugar (you may substitute with white sugar or honey)

Tools for Canning:

Stove Top Water Bath Canner

7-quart jars with rings and flats

Jar lifters to remove jars from the canner.

Canning funnel to make filling jars easier.

Stainless steel ladle for adding the simple syrup to jars.

Process:

Boiling jars, rings, and flats ensure safe canning.

Boil jars, rings, and flats and set aside. Mix the water and sugar in a stainless steel cooker. I have gotten away from all non-stick cookware and prefer stainless, glass, or cast iron. Place over medium heat and bring to a slow soft boil.

Peel the peaches and slice them to your preferred thickness. Add the peach slices to the clean jars not filling them. I like to leave room for more syrup. Place the canning funnel in the mouth of the jar and ladle the simple syrup into the jars leaving at least an inch space at the top. Wipe the rims thoroughly and place the sterilized flats and rings on the jars. Don’t tighten the rings too tight. Add hot water to the canner and place on top of the stove on medium to high heat. Place the jars in the canner. Make sure the water is at least an inch above the sealed jars. Slowly bring the water in the canner to a boil. When the water begins boiling set your timer for 25 minutes.

We don’t fill the jars to the top to allow for more syrup.
Adding the simple syrup!

When the twenty-five minutes have exhausted, turn the stove off. Leave the peaches in the water for five to six minutes allowing the water to stop boiling. Using the jar lifters, carefully remove the jars of peaches from the canner. I like to place my jars on a folded towel on the counter. You should begin to hear the jars making that pinging sound to let you know the jars have sealed. Once the jars have cooled add the date to the flat with a permanent marker. After the jars have completely cooled, add the beautiful fruit to your pantry shelves. Don’t worry if your peaches have floated to the top. They’re still delicious, this happens when you do not pre-cook the peaches (raw pack) before canning them. Raw packing peaches is the easiest method of canning and does not require you to handle hot peaches. The shelf life is typically 12-18 months. I have found that the shelf life of this type raw packed peaches has lasted for two years, if the jars of peaches last that long. I also like to peel them and freeze them! Either way, results in delicious peaches year around.

Seven quarts of deliciousness!

I hope that you have enjoyed this post and will enjoy my method of preserving peaches during this uncertain time of the rise in prices and in some cases the lack of food on the shelves in many grocery stores. Canning your own food is one of the most rewarding experiences and benefits that you can encounter. If this is your first time canning and or preserving, stay the course, chin up, there will be failures and there will be successes, we’ve all experienced them both. Trust me, the good outweighs the bad. When the snow is flying, you’ll have delicious home-grown food awaiting you in your pantry.

God bless from the mountains of Kentucky. As always, feel free to follow my blog, and know that your comments are always welcome.

John 1:1 King James Version
In the beginning was the Word, and the Word was with God, and the Word was God.