For me, living a healthier lifestyle consists of healthy delicious food, easy recipes, moderations, decreased stress, exercise, and a positive attitude. We know that it’s nearly impossible to avoid stress in the fast paced world we live today. However, I have found that by simply taking time each day to find a place of tranquility, and enjoying the serenity, the following day of stress is easier to cope with. In other words, take time for yourself everyday, whether it be that warm bubble bath that you’ve been promising yourself, a walk in the park, reading a great book on the porch swing, or simply enjoying the bounty of nature. For me, church, the mountains, family, a good book, and a little “me time” does wonders.
My husband and I recently took a ride to grab a little evening relaxation. We took a cooler of drinks, snacks, a camera, and a desire for a little peace and quiet, Kentucky style. The scenery of the mountains was breathtaking. and the ride was serene. We traveled for hours and never saw another human being. However, we kept the camera ready for the beautiful wildlife that can spotted at almost any given time along the many trails that wind through the mountains. Truthfully, you never know what you’ll see in the mountains of Kentucky!

An afternoon ride through the mountains of Kentucky.

Two Kentucky elk.
Now, if that’s not a beautiful site…I’m not sure what would qualify as beautiful! Not to mention, elk is a great source of clean meat. Our son has been drawn for an elk hunting tag the past two years, which allows for our family to have a years’ worth of fresh elk meat. But these two handsome guys pictured above are primarily for the sheer enjoyment of their beauty! They are safe from hunters.
Okay, enough about the tranquil life in the Kentucky mountains, let’s move forward with a great recipe! Everyone likes quick and easy recipes. I especially like quick, easy, and clean recipes. But, there’s an element that I want all recipes to have, and that’s flavor! This recipe is packed with flavor! I get really excited when I create, or discover a delicious clean recipe that is quick and easy to make…I want to share it with everyone! Clean eating has changed my life in many ways. Not only do I feel better both physically and mentally, but I’ve also lost sixty-eight pounds. My blood pressure is great, cholesterol is down, and my risk of diabetes has decreased tremendously. Okay, enough about me! I am excited to share one of my favorite breakfast recipes…clean, quick, low-calorie, low-fat, easy microwaveable blueberry coffee mug muffins!

Quick, easy, delicious, and clean microwavable blueberry muffin.
The muffins are simple to make, and delicious to eat! You can experiment with a variety of fruits and create different family favorites. For this wonderful breakfast treat you will need the following ingredients;
Ingredients
1/4 cup quick oats
1 fresh, or organic egg
splash of almond, or soy milk
handful of blueberries
raw, or organic honey
1 teaspoon of stevia
1 teaspoon of cinnamon
1/2 teaspoon of vanilla extract (optional)
cooking spray (I like to use organic coconut spray)
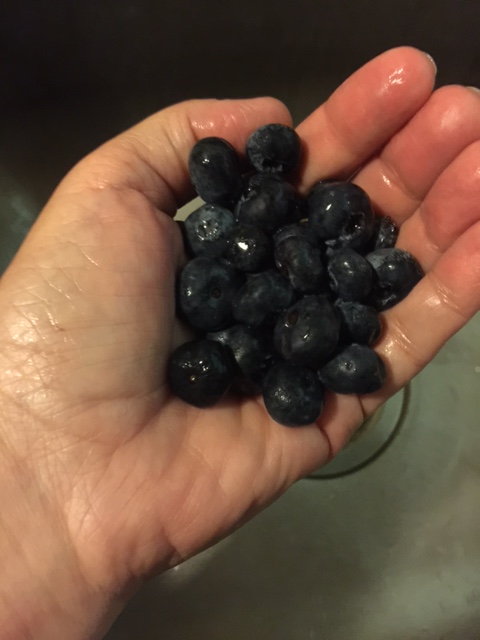
A hand full of clean blueberries.

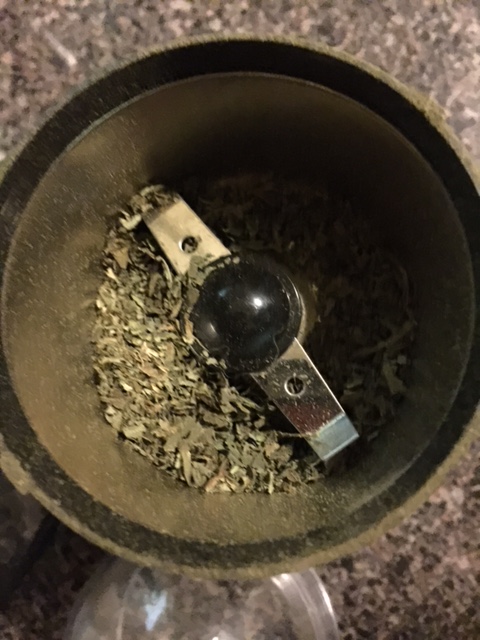
Stevia is a great sweetener, and can be grown at home. That will be in a future blog!
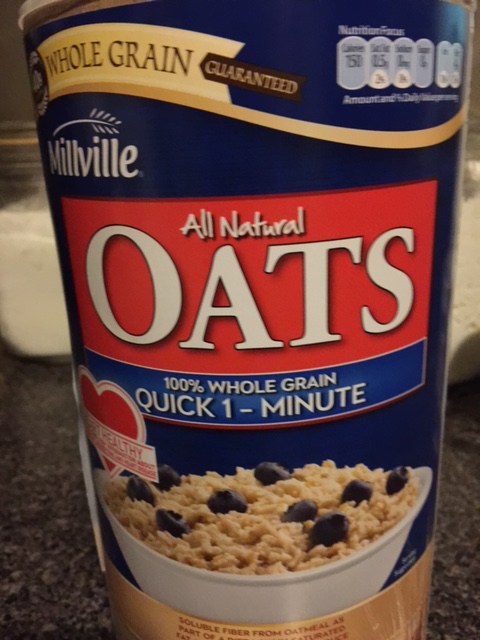
Quick oats cook faster and taste great
Tools
microwave
spoon
coffee mug
1.) Wash blueberries and lay on a paper towel to drain.
2.) Very lightly spray a coffee mug with cooking spray.
3.) Mix oats, egg, stevia, cinnamon, and blueberries in a microwave-safe coffee mug until well blended. You may also add 1/2 teaspoon of vanilla. (this is optional)
4.) Place in the microwave and bake for one minute intervals. Depending on the microwave your muffin will take between 1 and 3 minutes.
5.) Remove the muffin from the microwave and drizzle with honey.
6.) Allow to cool, if you are going to remove the muffin from the cup. You may also eat the muffin warm from the cup with a spoon.

I love to eat the blueberry muffins warm by the spoonful.
Quick, easy, delicious, and clean microwave-safe blueberry muffin.
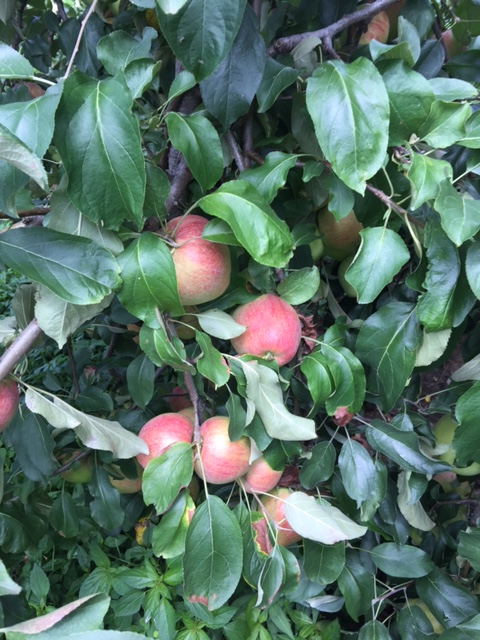
This is truly a quick, easy, and delicious muffin! I have altered the recipe by using different types of fruit. Apples and strawberries both make wonderful muffins. I’ll share those recipes in upcoming blog posts. For now, happy baking, and bon appetite!